
It has been around 8 years since I bought my last token snow globe souvenir. After realising my bedroom had a stark resemblance to the tv show “hoarders”, I realised my days of buying kitsch souvenirs were over and I would instead have to come up with an alternative plan to create travel memories back home. Thus, I started a travel scrapbook. But rather than buy one from the shop and fill in the blanks, I found it much more rewarding to make it from scratch, so here is a complete DIY so that you can make your own too!
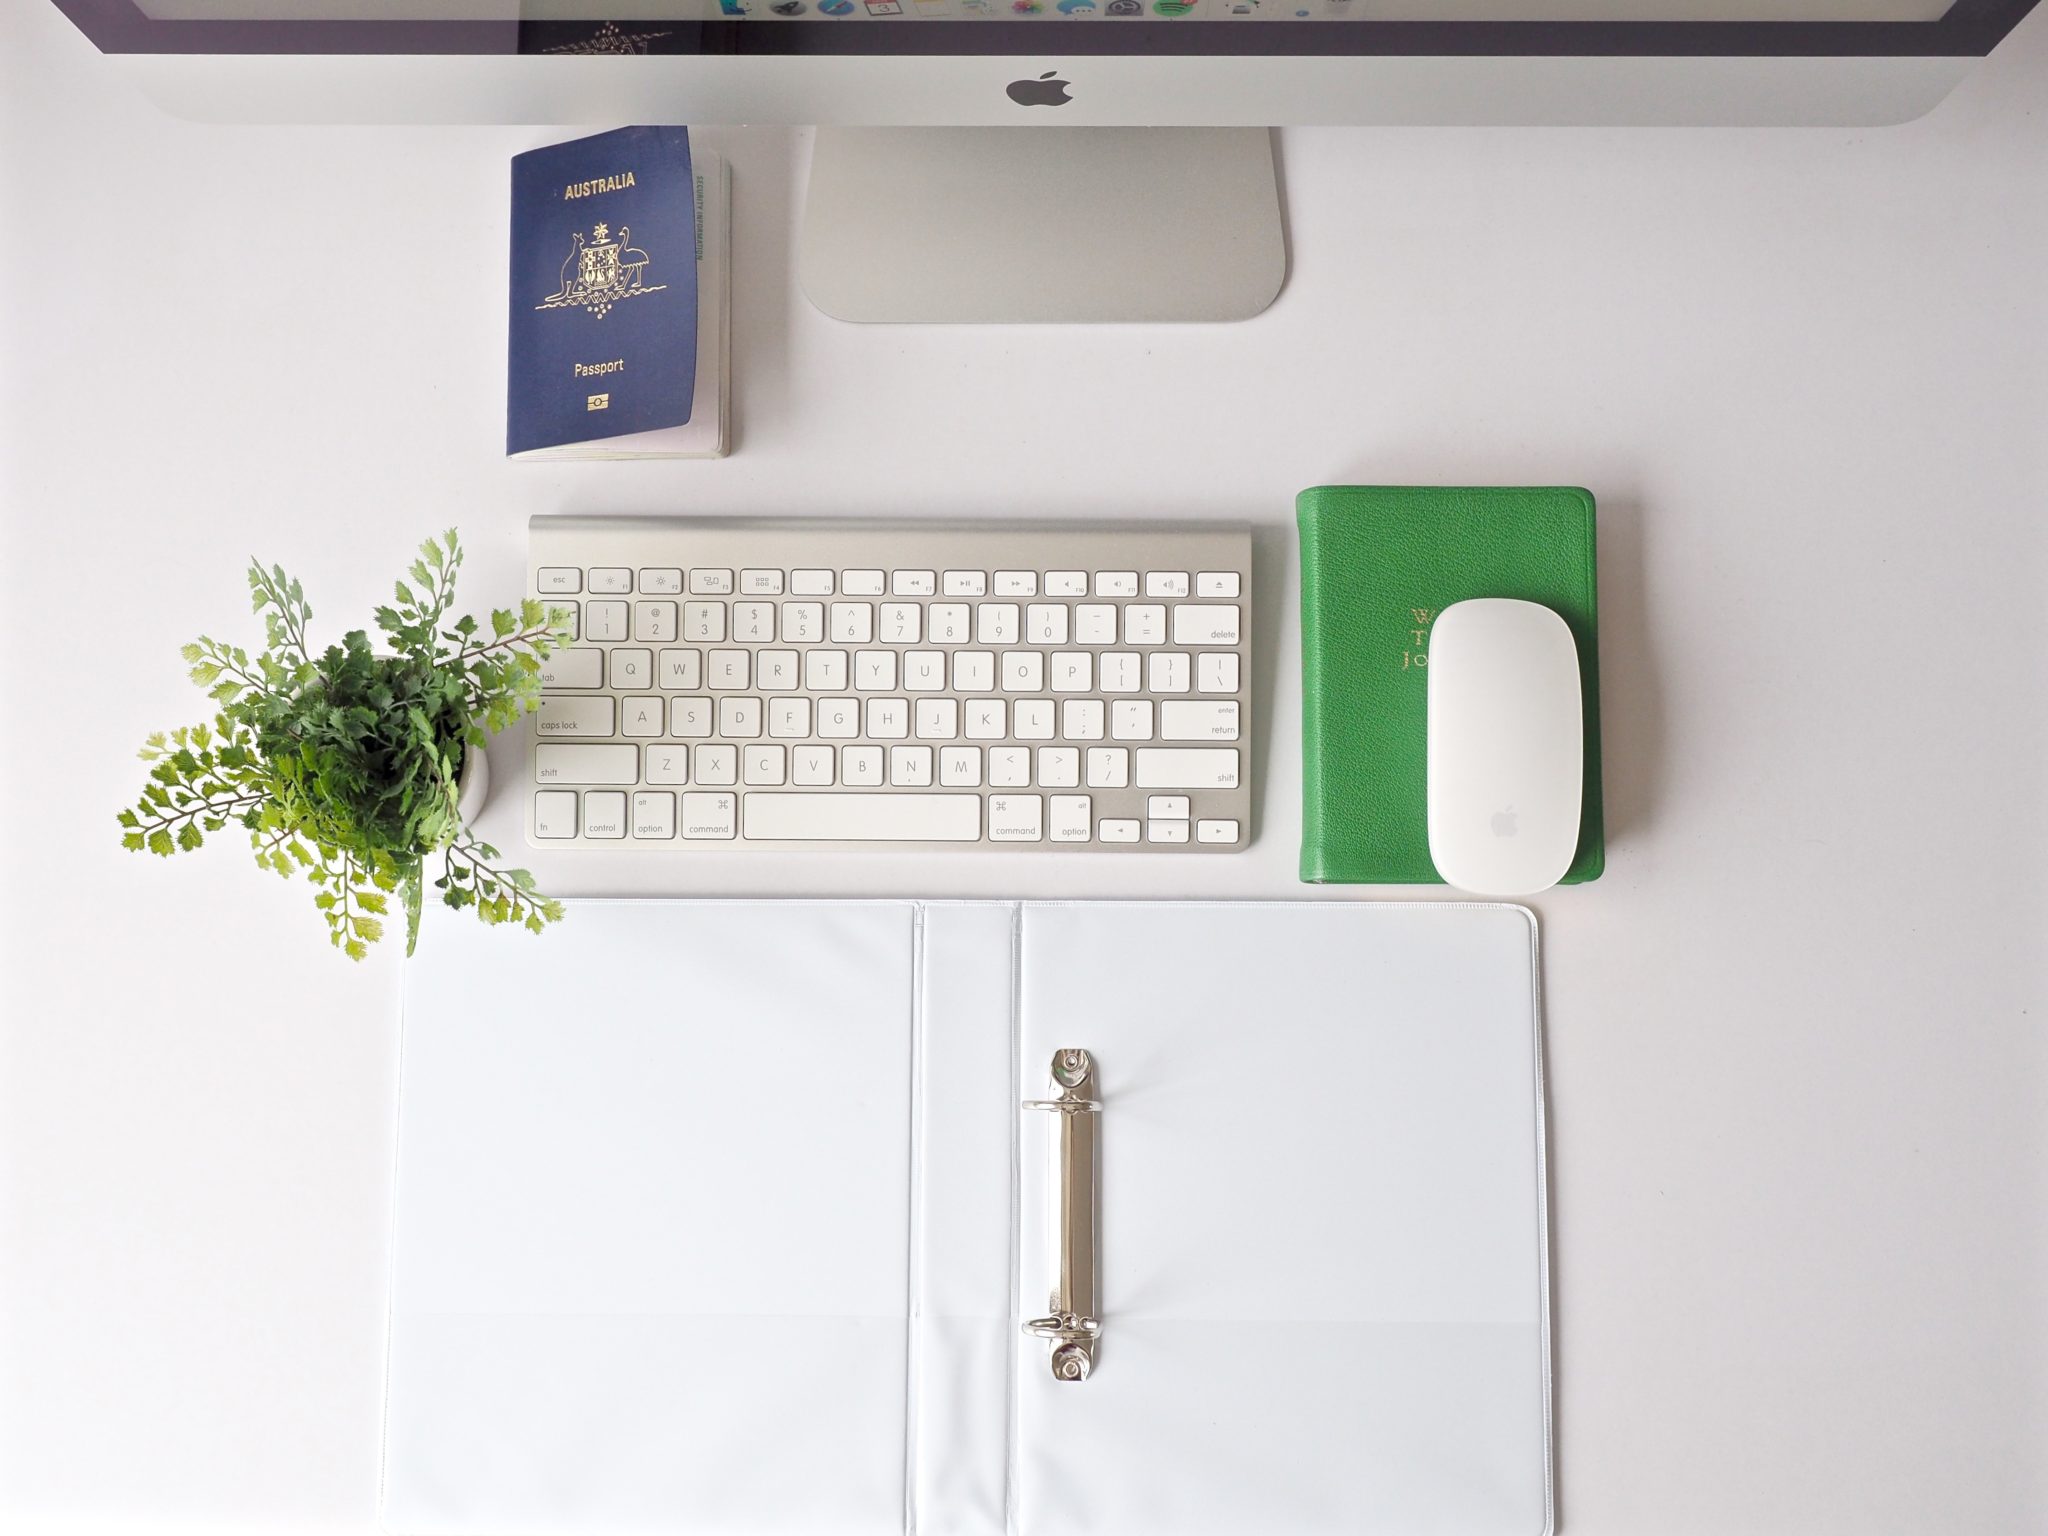
DIY Travel Scrapbook // You will need:
Start with a clean desk space (don’t worry – its about to get messy)
Tools: scissors, hole puncher, glue stick, pencil, ruler, sharpie pen
A5 Blank clip folder
Clear leaflets to fill
Colourful and/or patterned paper for backgrounds
Photos (many, many photos)
Postcards from around the place
Memories (foreign coins, cinema tickets, receipts, business cards, a preserved leaf… whatever you fancy really!)
Decorations (stickers, and plenty of them!)

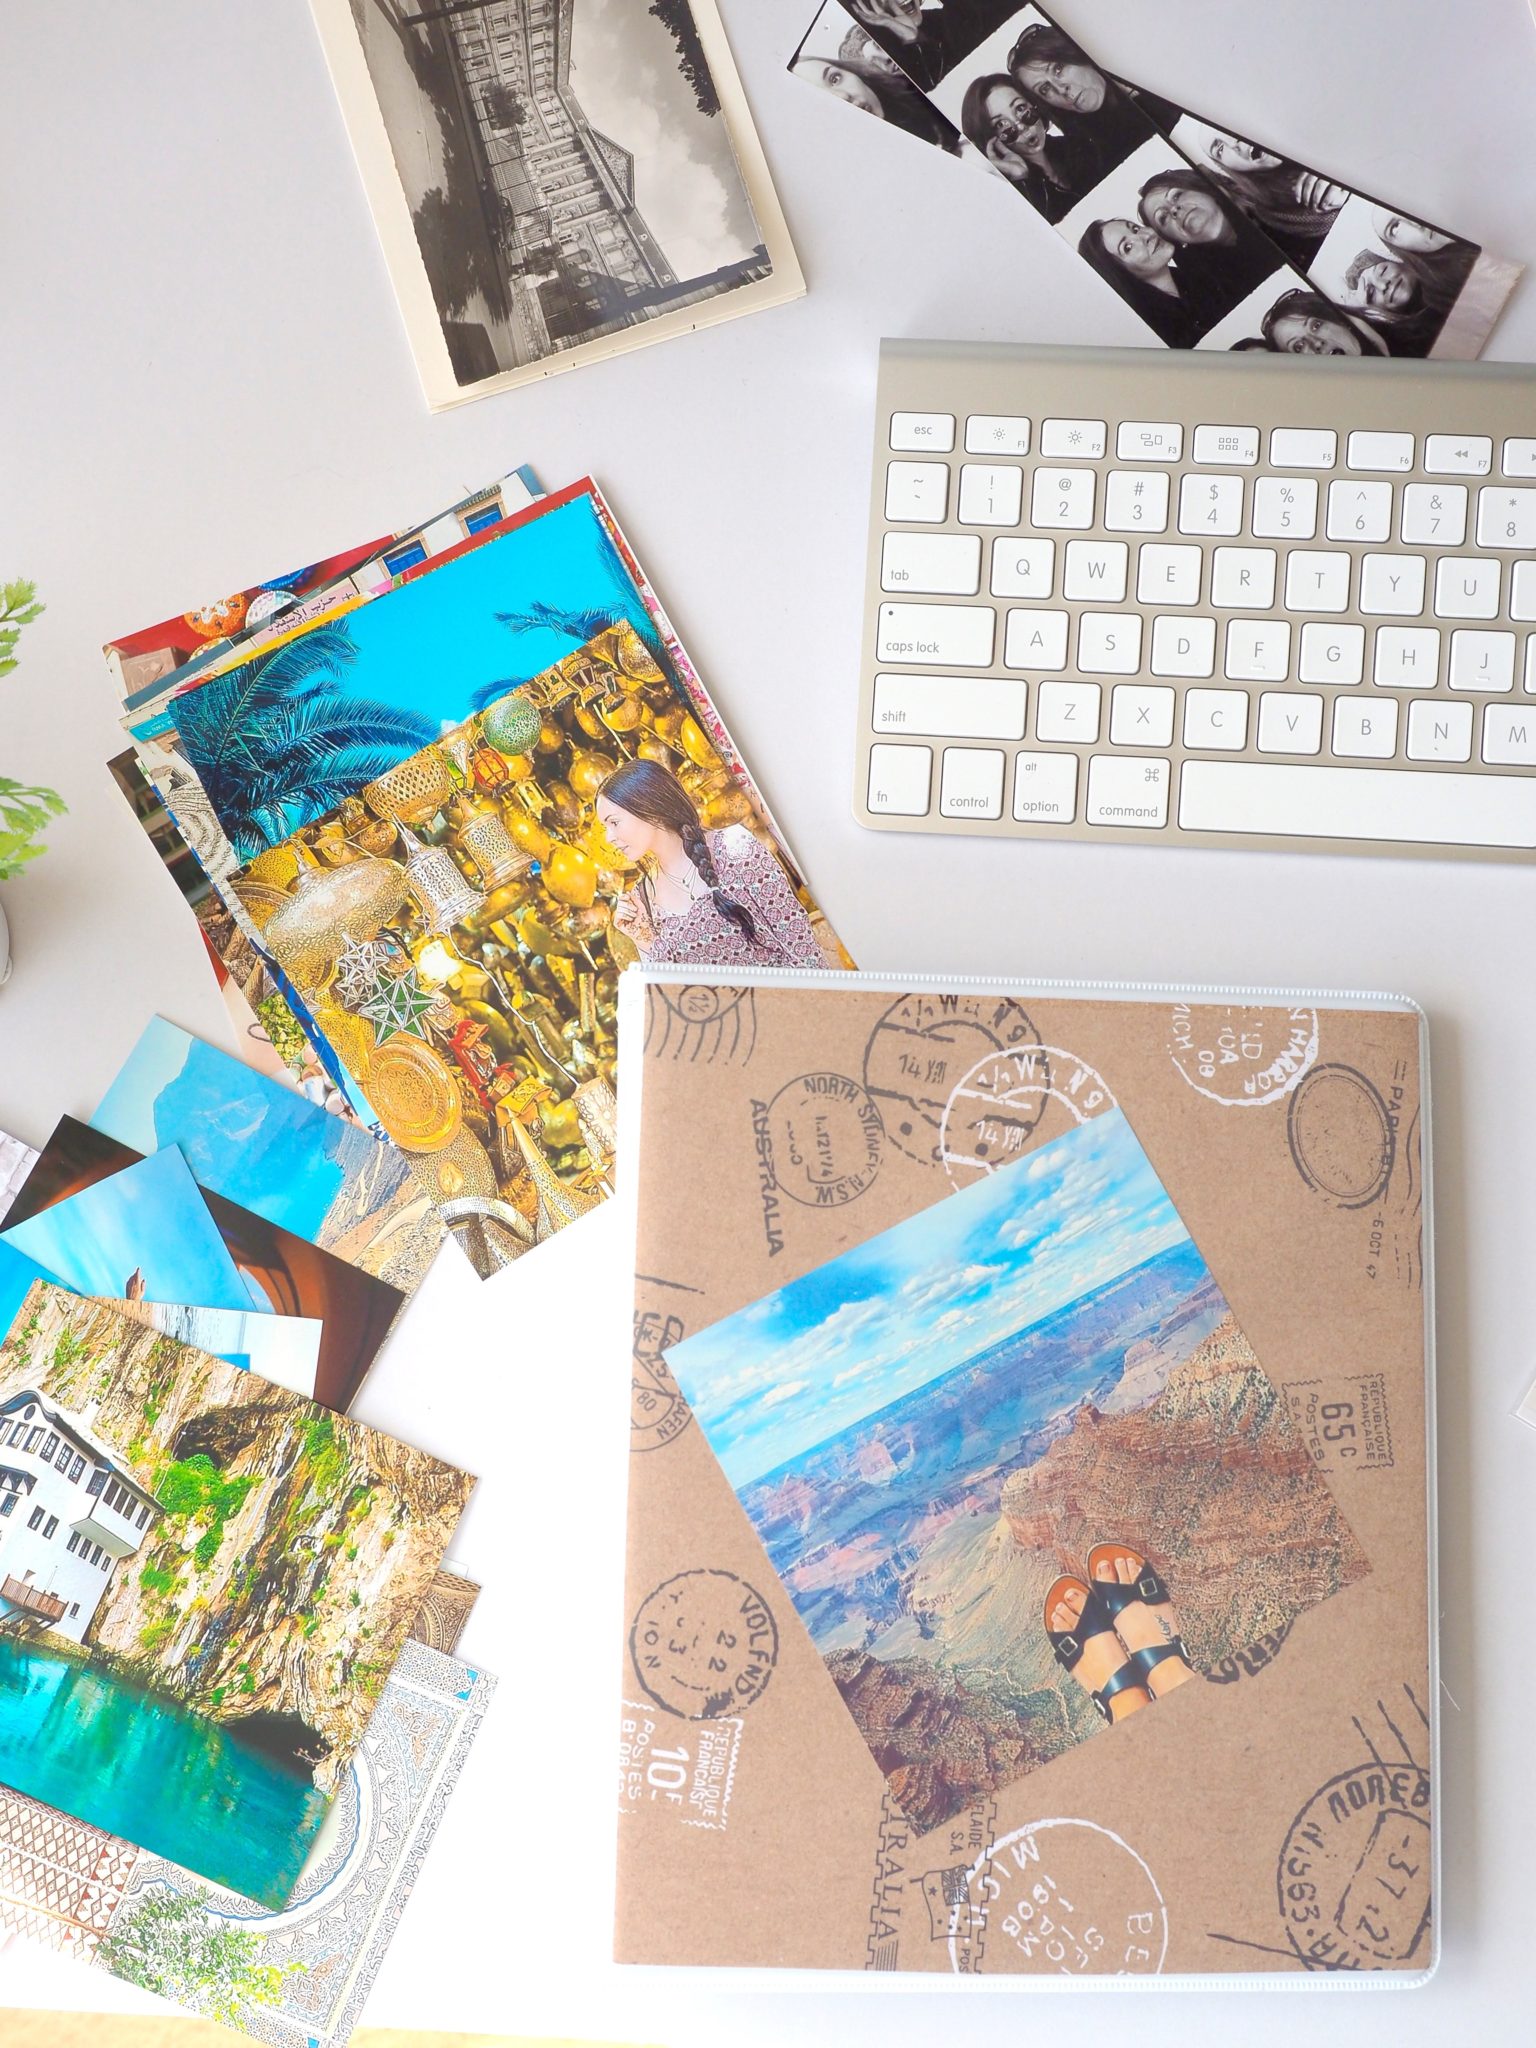
Step One: The Cover
Now it cannot be stressed enough how important the cover image is. This image you create should inspire you to go on new adventures (keep your scrapbook somewhere you can see it each day), as well as remind you of your fondest travel memory. For me, that was a road trip through Arizona with my boyfriend in the early days of dating each other. We were both in the USA at the same time by chance, so met up in the midst of our schedules and went on a four day road trip through the length of Arizona. The image chosen is a shot of the grand canyon, with my feet lifted into frame to remind me every day of what that moment felt like… bliss!
Be sure to pimp out your cover with loads of textures, glittery bits and pieces… whatever makes it look snazzy.
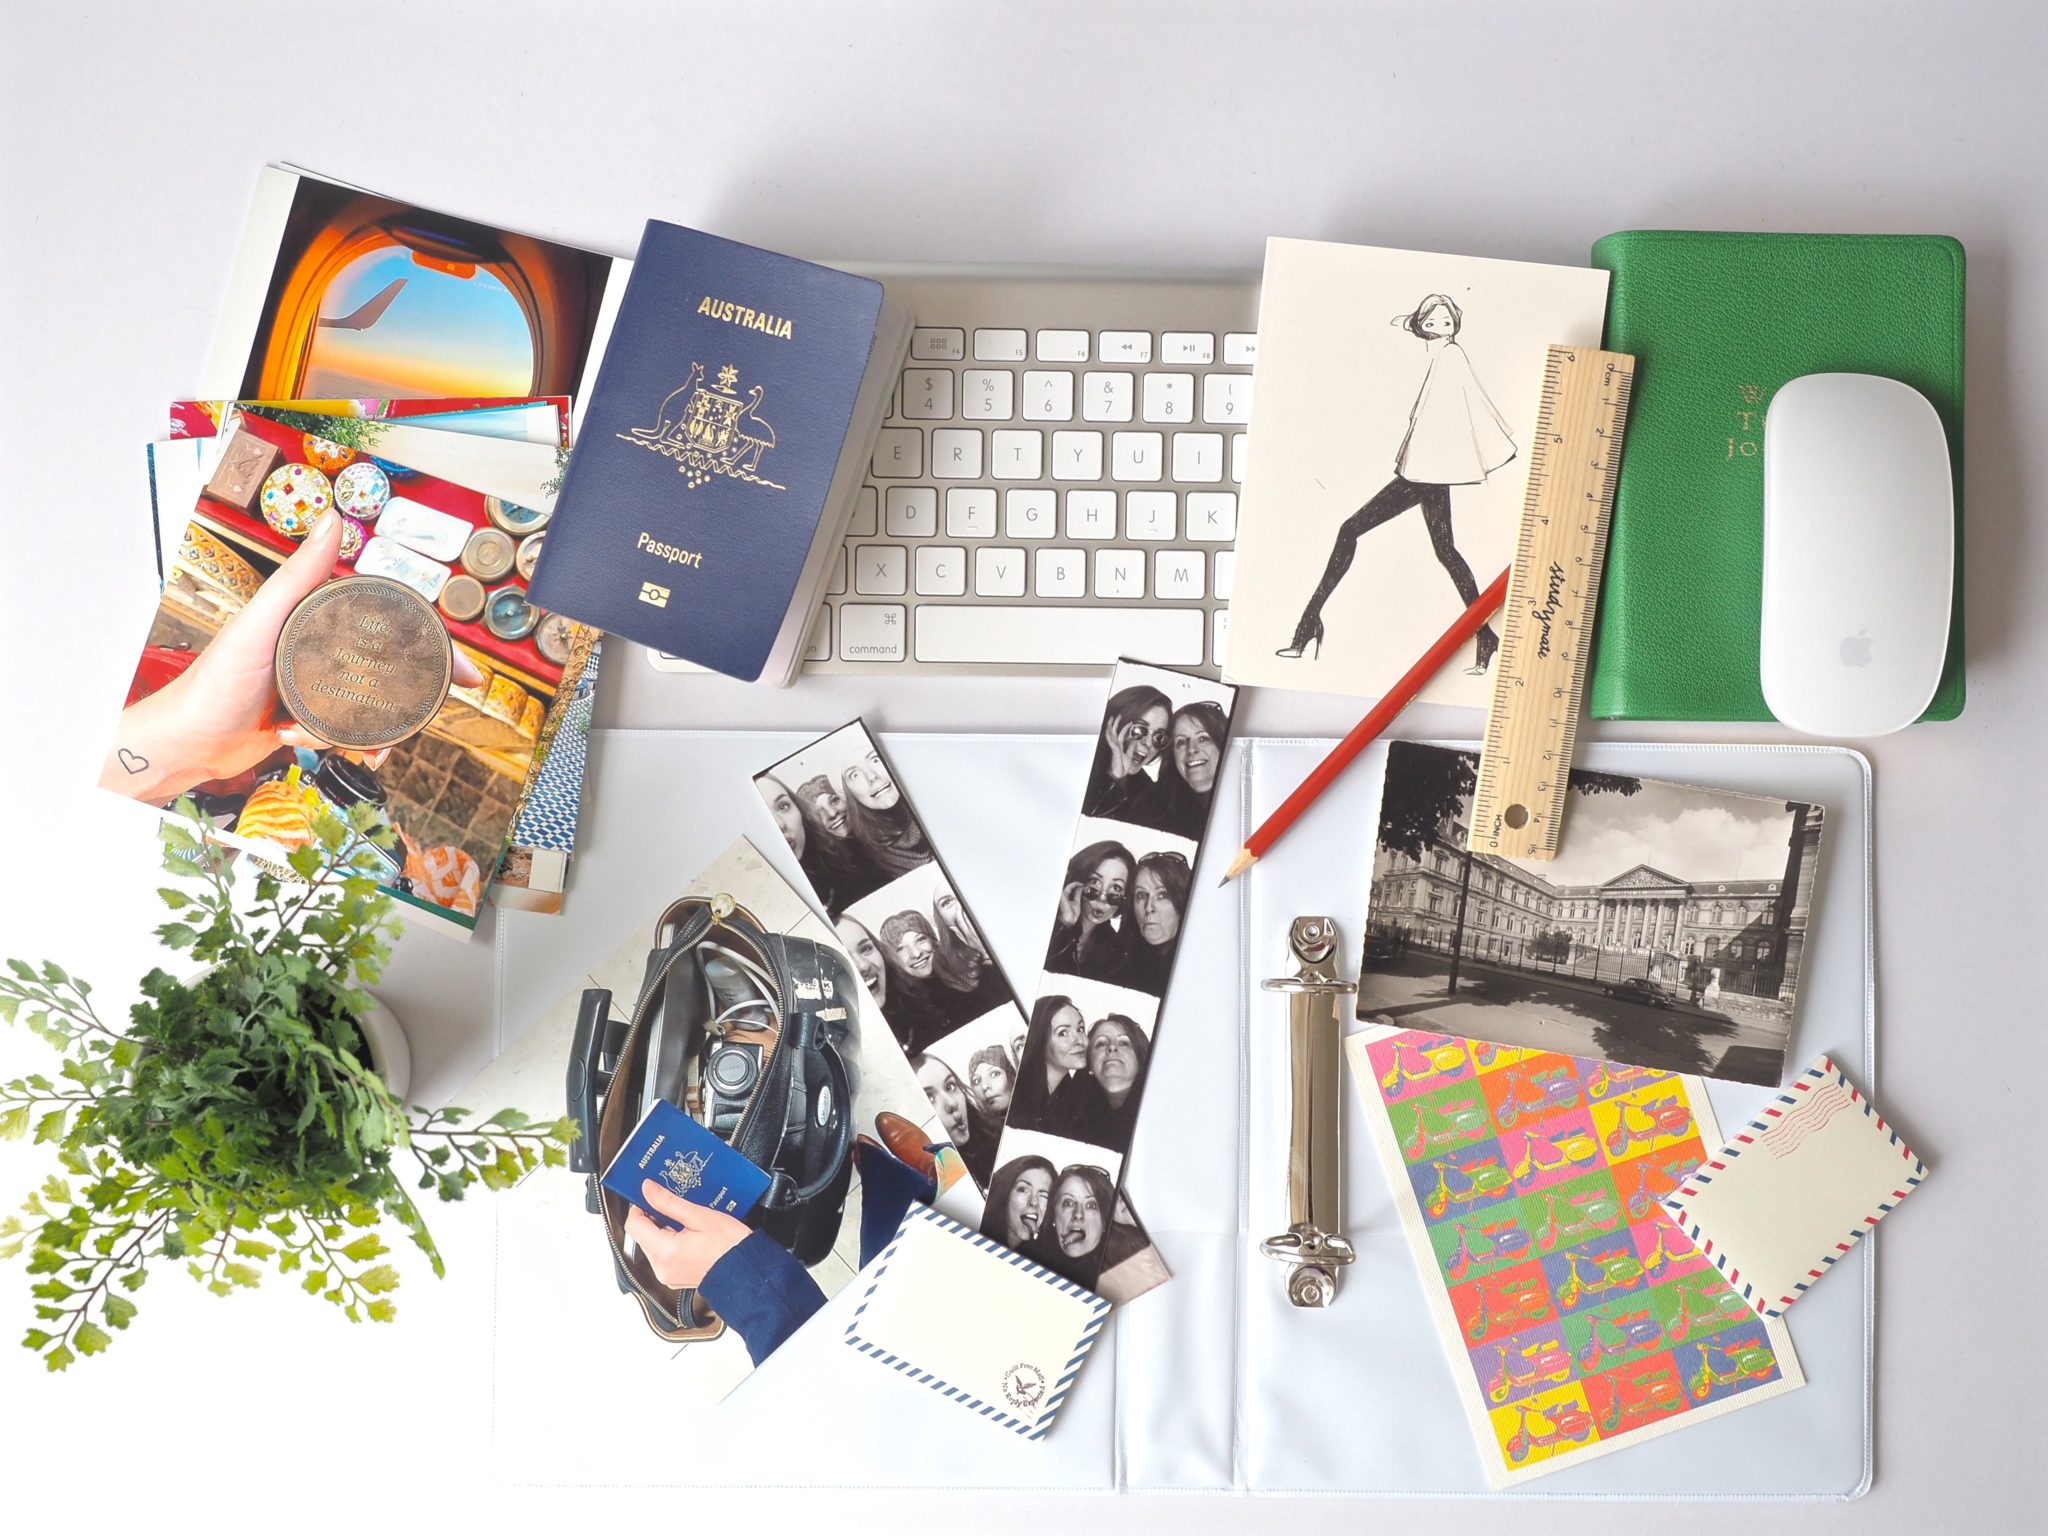
Step Two: Mix n’ Match Moments
Picking out what travel moments are going to make the cut may or may not be a difficult task, depending on how much you travel. As a travel blogger this is quite a funny task (deciding what to leave out rather than what to include), but I managed to nail it down to a handful of trips to start off with – those that were most important to me thus far in my life.
As you can see in the image above, I even included some photo booth snaps with my mum, when she came over to Europe to visit me at my apartment in Berlin. She had never been to Europe before so it was a really special trip for her, and a special trip for me to be a part of. After a few days in Berlin when ventured onwards to Stockholm, Sweden, and finally Prague, Czech Republic, before travelling by train back to Berlin. I wanted to show her a couple highlights of Europe but with so little time I was restricted to cities, so I picked Prague (an old favourite) and Stockholm (somewhere I had never been – so somewhere we could explore together).
I also chose to sporadically include some of the beautiful post cards and cards some readers have sent me over the past couple of years (if you’d like to send me one, I’d love that! Find my address here).
I also found some cute little post it notes in the style of old mail, which I glued throughout my photos to write a quote or memory with a sharpie pen.
This whole process was really fun because it allowed me to relive so many trips I have taken over the past couple of years… it reminded me how thankful I am to be able to see the world and share it here on my blog!
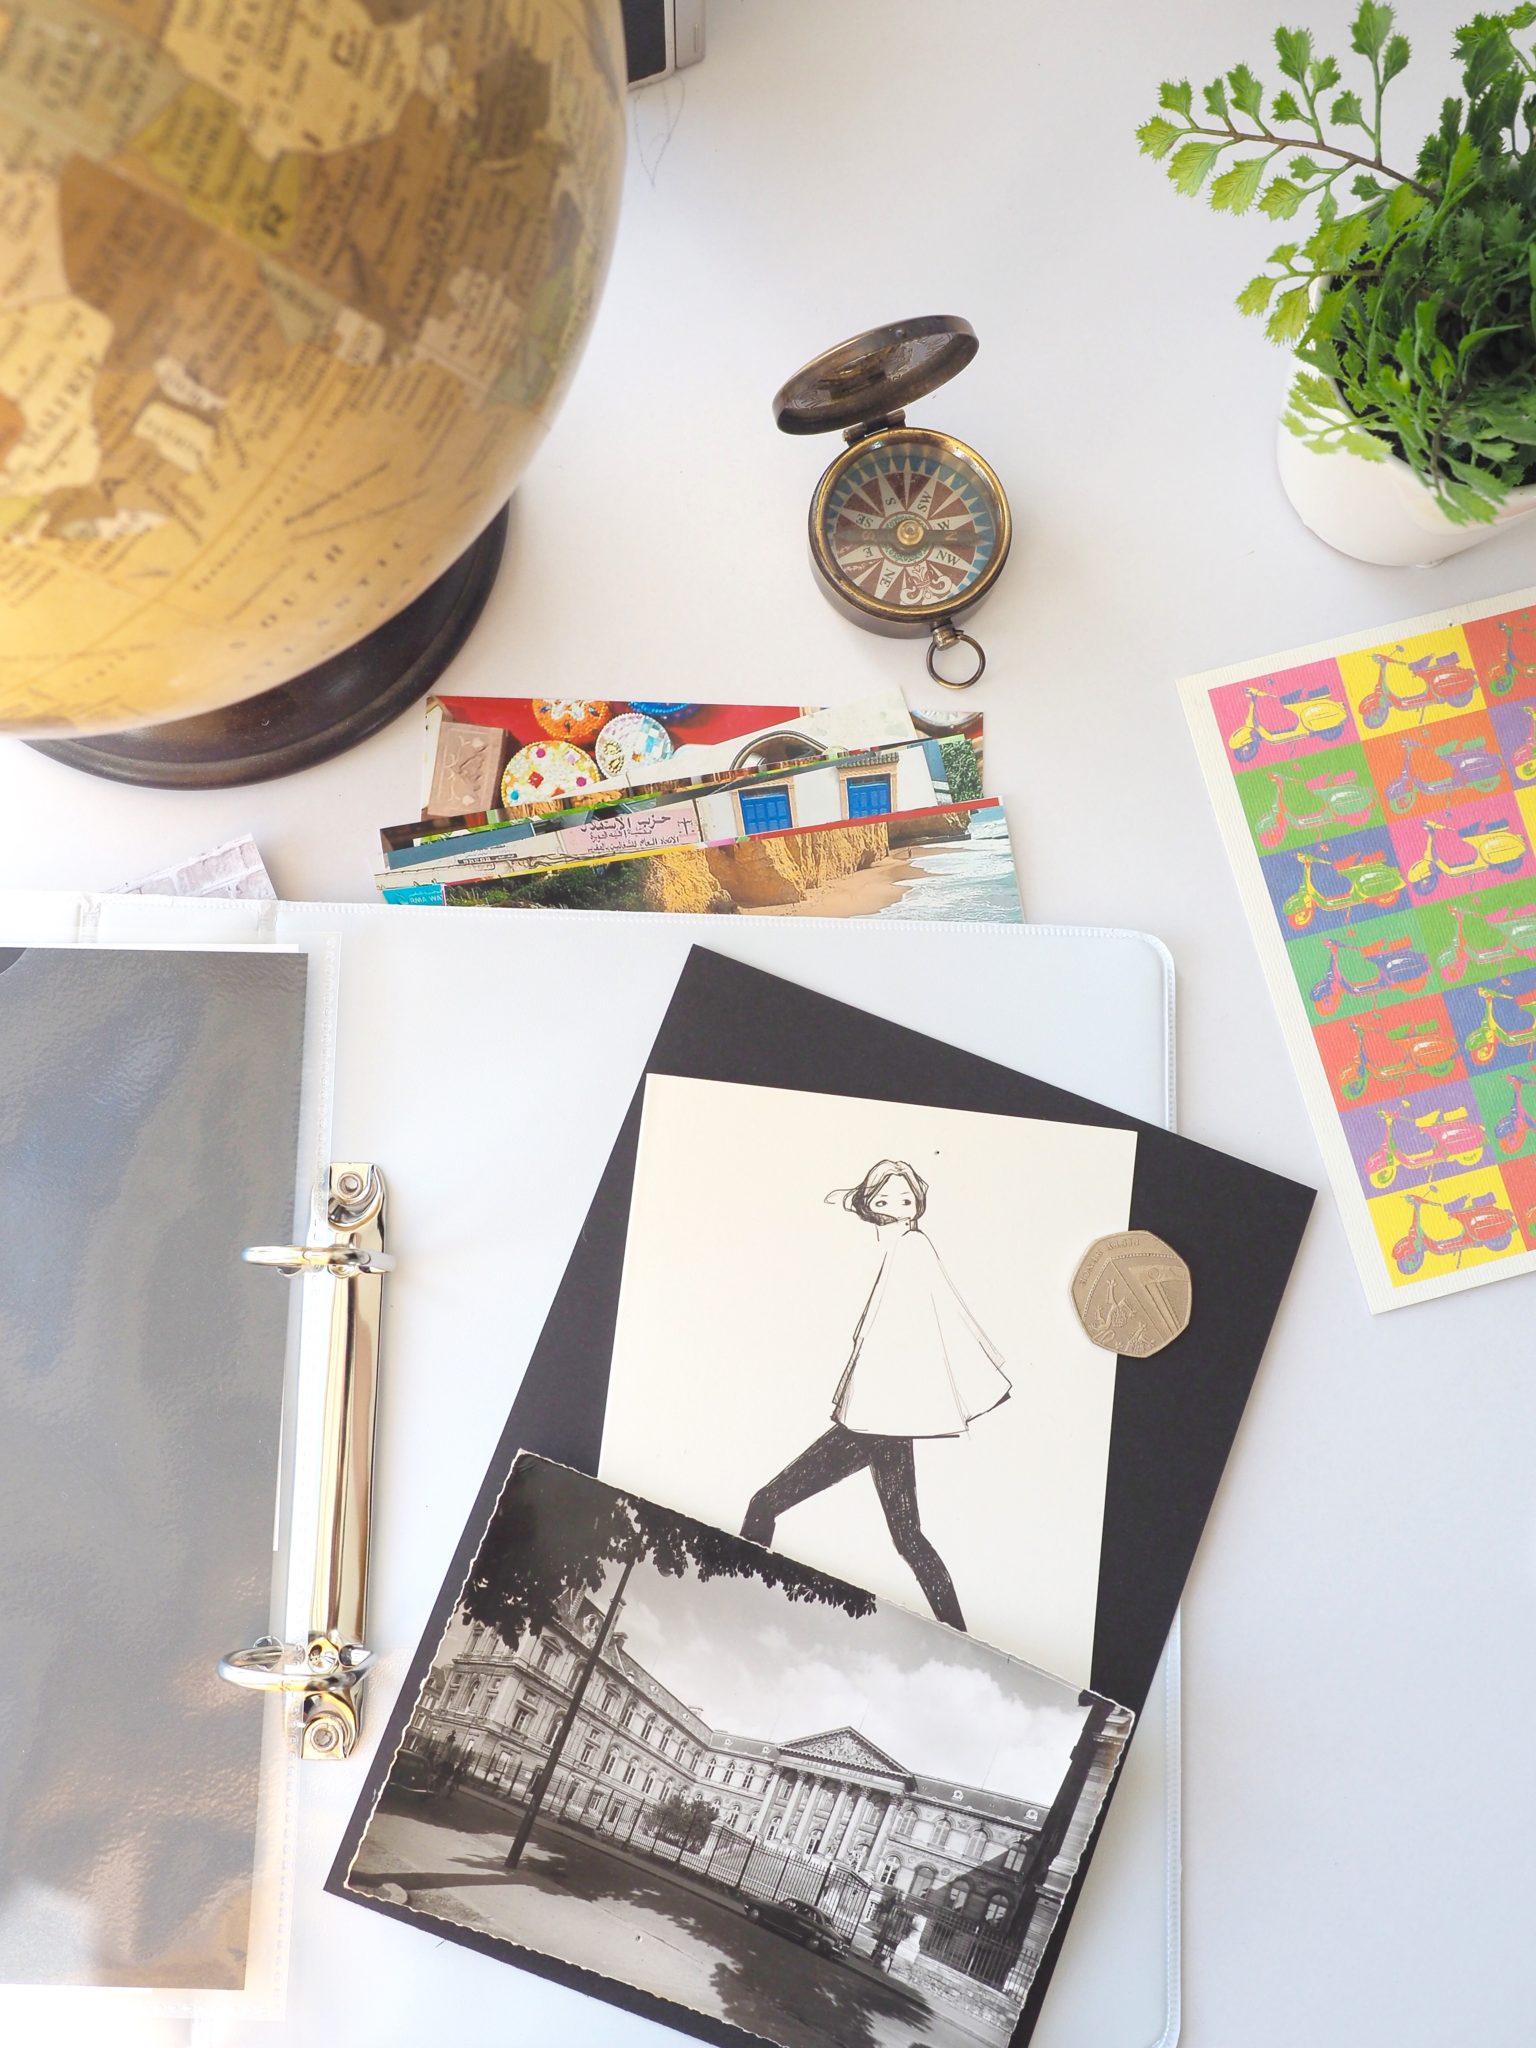
Step Three: Glue it all in!
After you’ve mapped out your pages by laying out your designs (all over your bedroom floor no doubt), then its time to get glueing!
I decided to back each page (inside a clear pocket sheet) with a colourful card of paper to give it a little more life and then glued my images and stuck my stickers on there. After all your bits and pieces are in place be sure to write a word or two to highlight how you felt in that moment!
If your A5 plastic sheets don’t have holes in them, now is the time to grab the hole punch (just be sure to measure up where you’ll punch the holes with your ruler and pencil to mark the spot.
Also remember that this is just the beginning… you can keep on filling your travel scrapbook after each and every trip with new moments you have collected on your travels!


Brooke Saward founded World of Wanderlust as a place to share inspiration from her travels and to inspire others to see our world. She now divides her time between adventures abroad and adventures in the kitchen, with a particular weakness for French pastries.