


I get asked this question every day in a variety of forms. Who takes your photos if you travel solo? Is a common way to phrase the question, which sometimes feels more like an accusation than I question *sigh*. But regardless, I do travel solo. And I do take my own solo travel photos.
The truth is, I have mastered the art of the solo travel photo.
I guess that’s what I have to show for ten years of solo adventures with yours truly – across Europe, Africa, Asia, North America, South America, Oceania and the Middle East. Hey, I’m not complaining.
But if you want to know *exactly* how to take your own solo travel photos that can end up in magazines and on book covers, read on! And if you want to read my book, click here.

Step One: Buy this Tripod
It’s no secret that you’ll need the tools of the trade to take the best solo travel photos you are capable of. But the good news is, the best is not always the most expensive. In fact, you’ll just need to buy this tripod on Amazon to easily take your own solo travel photos.
The best tripods for solo travel photos
For photos on your iPhone – The cheapest option is this phone tripod for $15.
For photos on a DSLR – You’ll need a sturdier option like this tripod for $39.
Both of these tripods come with all the necessary attachments for your phone and/or camera, plus the all important Bluetooth remote. Which brings me to step two.

Step Two: Link your Bluetooth Remote
Taking your own solo travel photos is way easier when you have a Bluetooth remote. For years I used my iPhone as a remote (by connecting it to my Sony A7iii camera). However in recent travels, I have switched over to this small Bluetooth remote that comes included with both of the tripods I linked above.
I cannot overstate the importance of the Bluetooth remote.
This little remote allows you to click away in your hands and take as many photos as you so please in just a few seconds. Better yet: no one will ever know you’re using a remote!
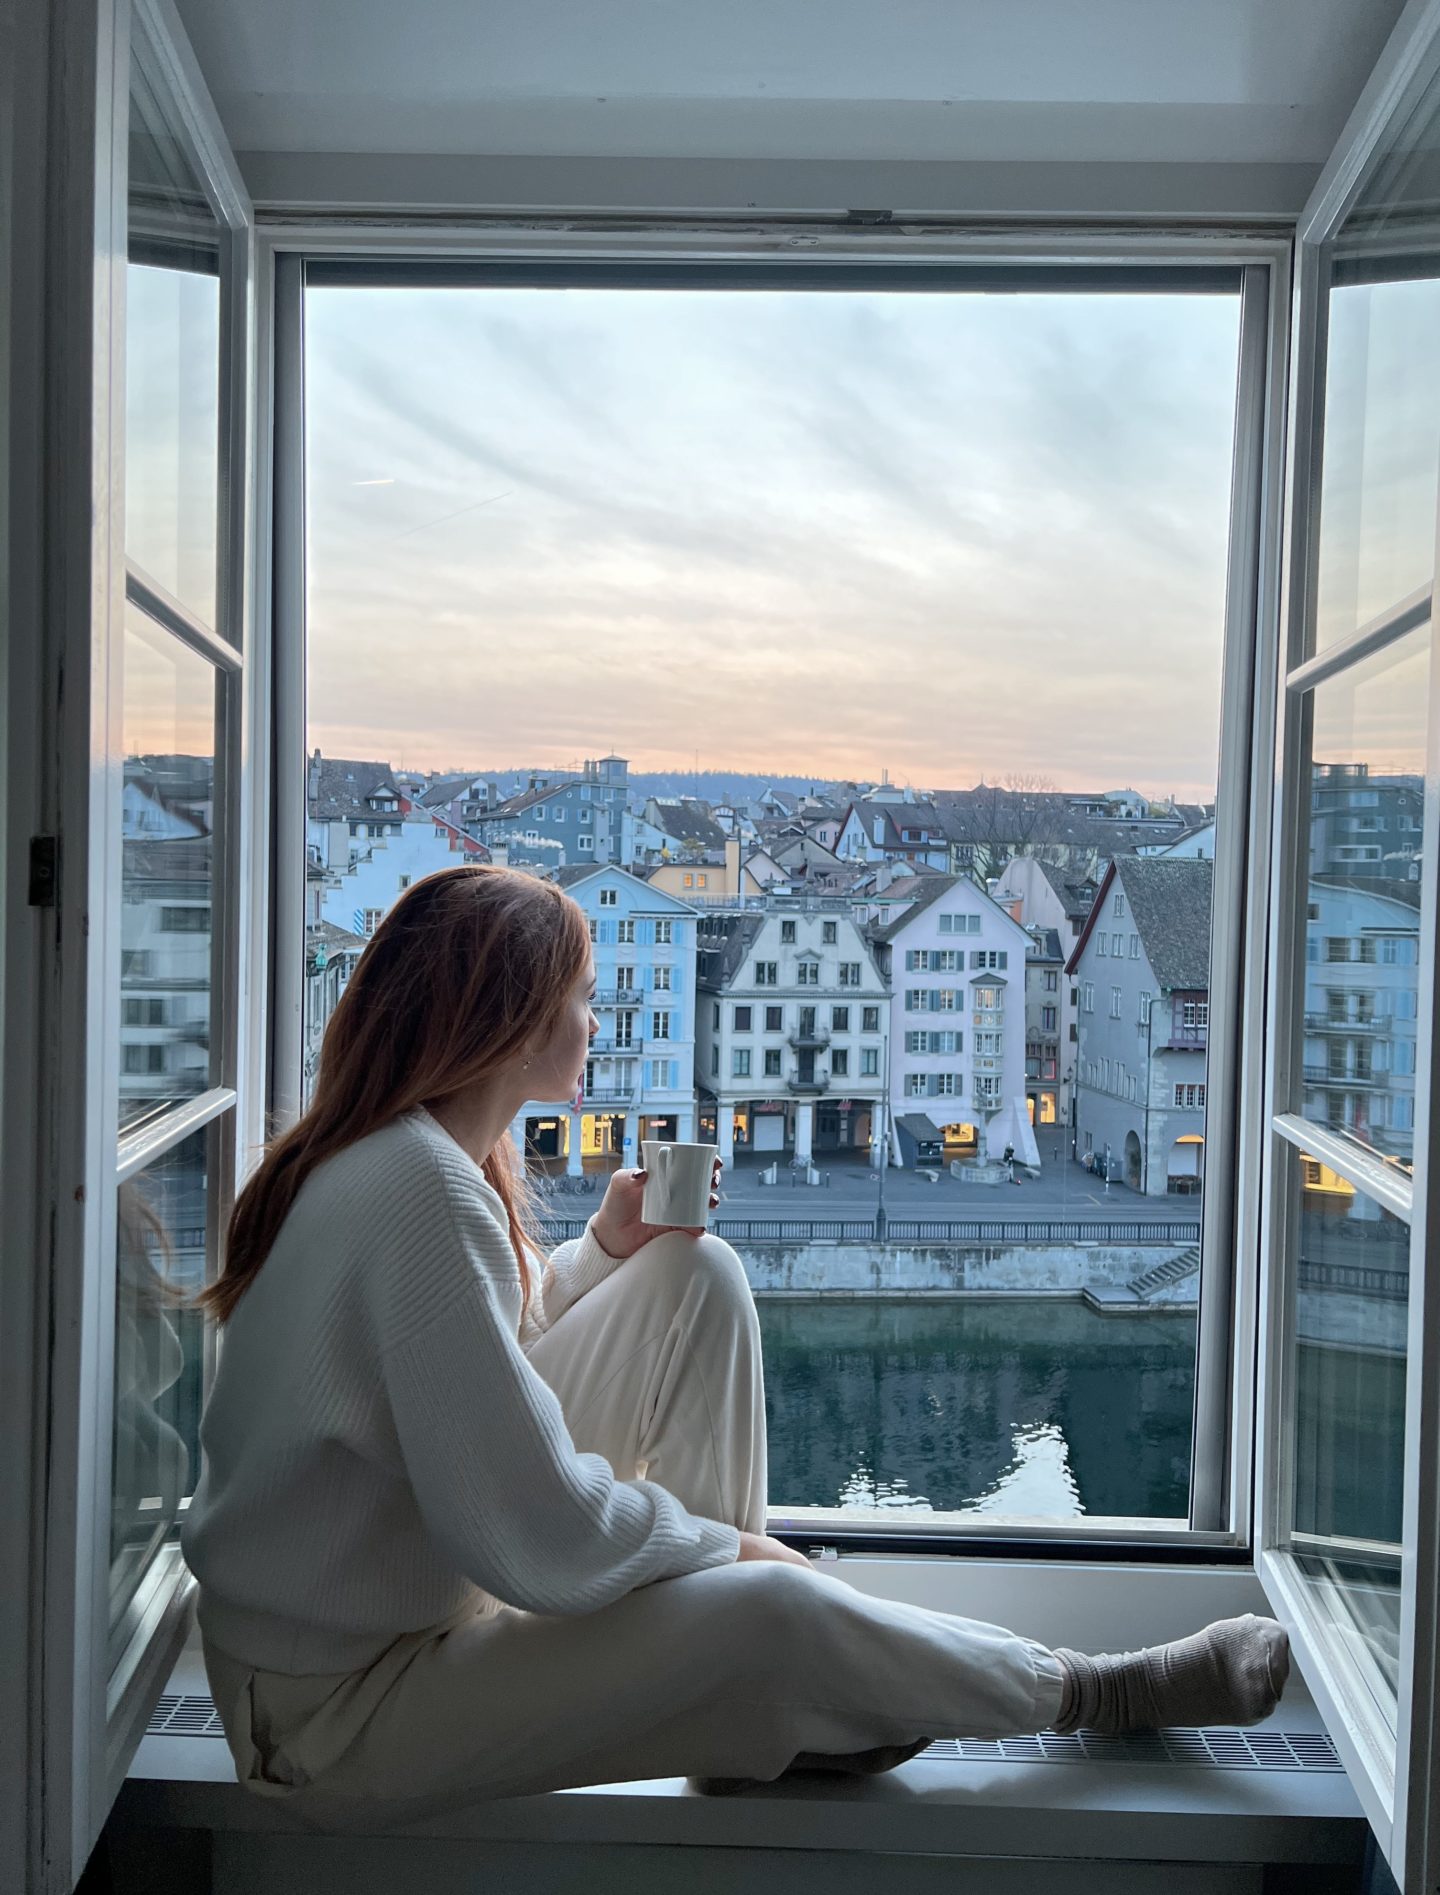
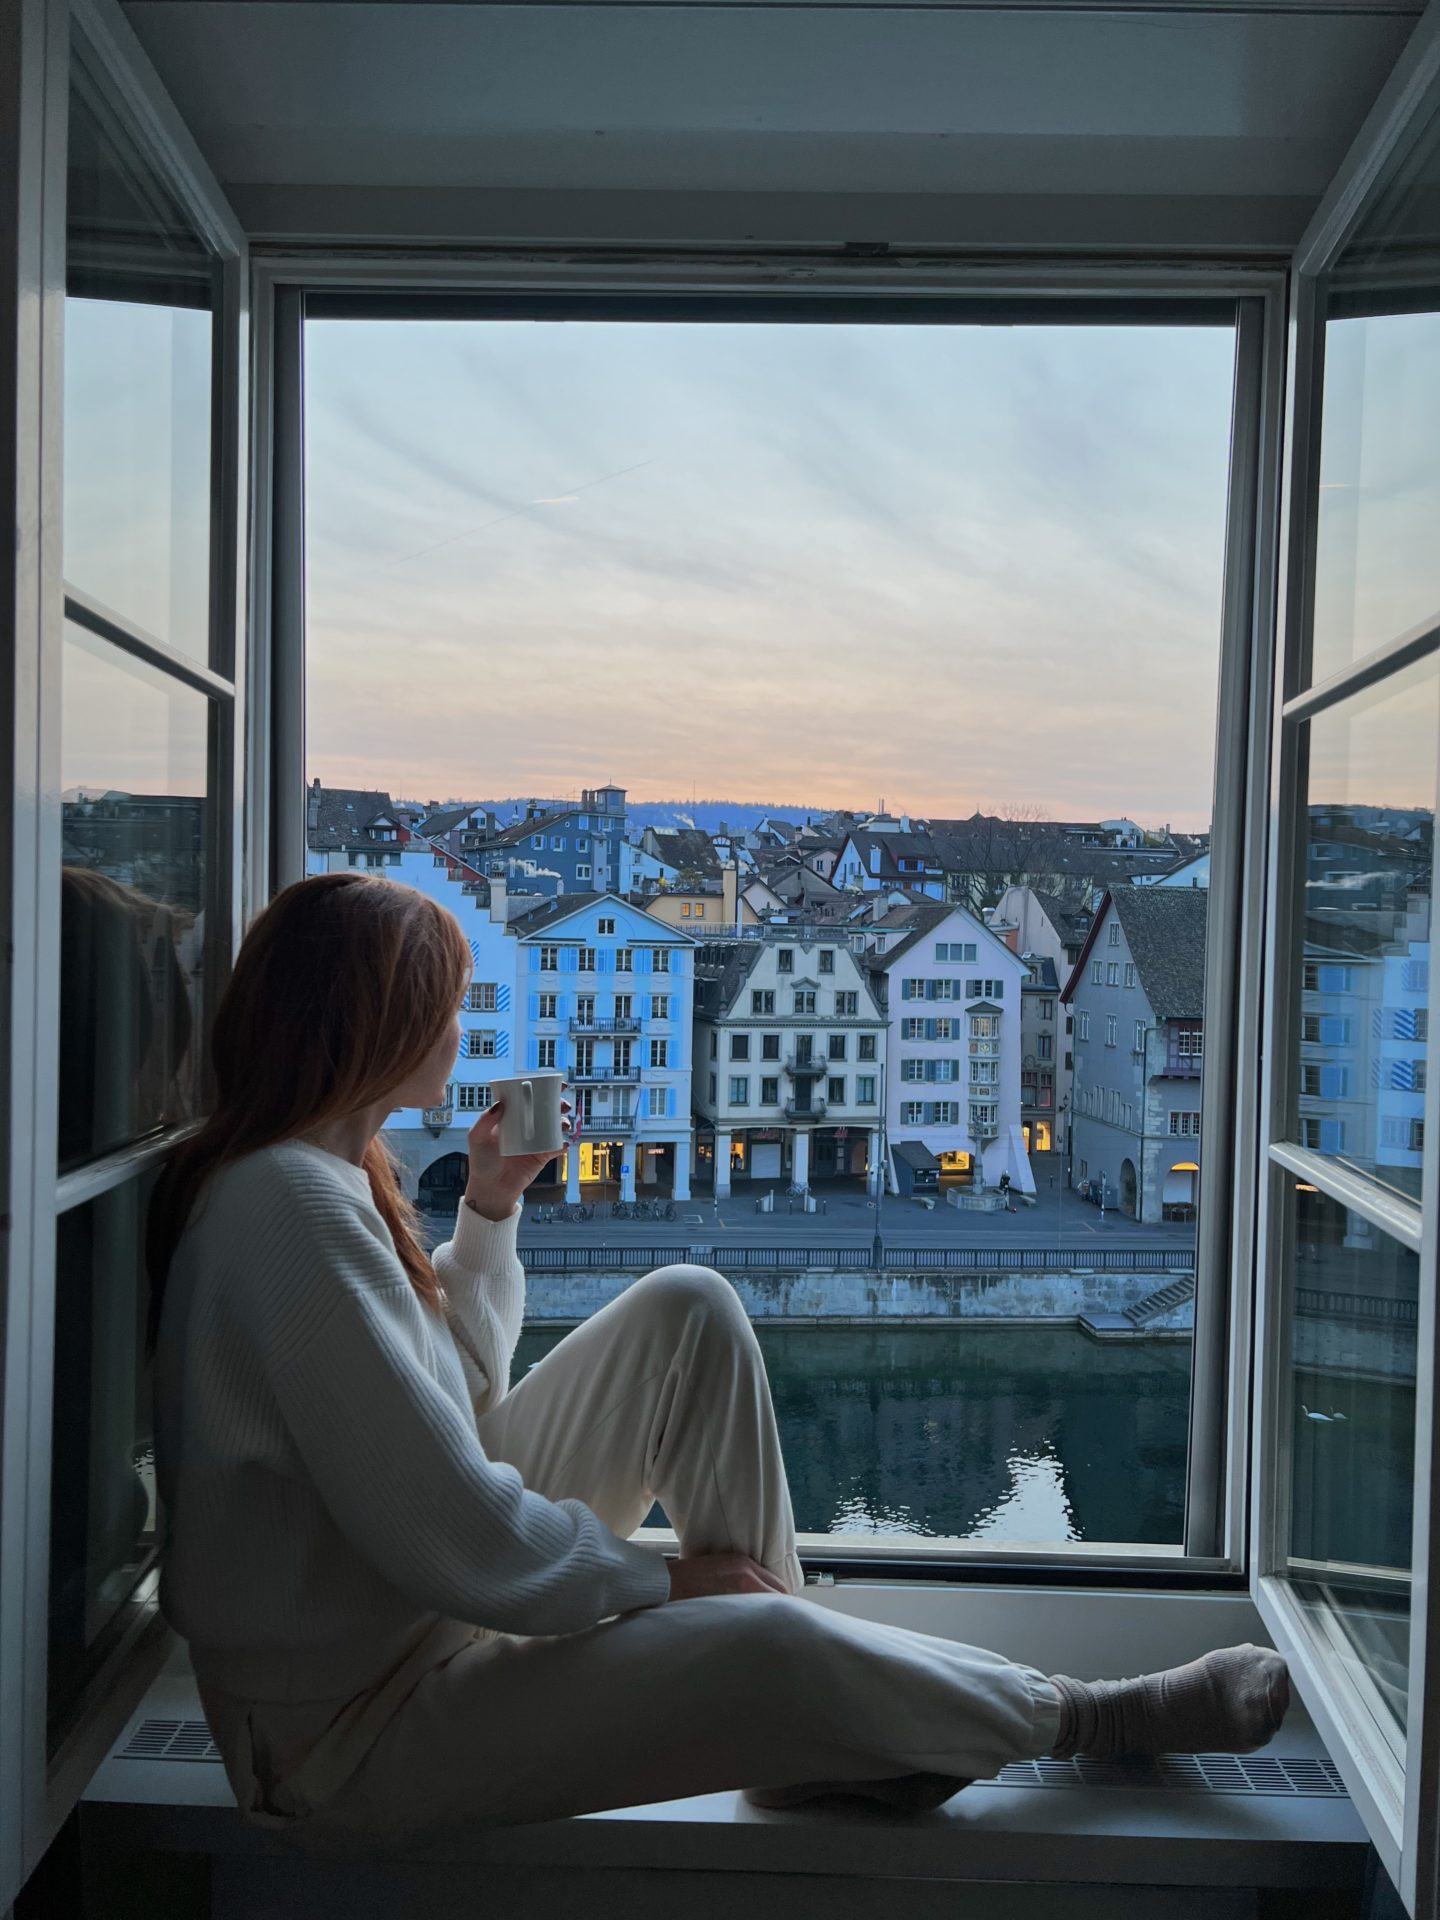
Step three: Take photos in the early hours of the morning
Another common question I get asked is “don’t you get afraid someone will steal your camera?“
The easiest way to ensure that doesn’t happen is to venture out in the mornings, just as the sun is rising and capture photos of the city you are visiting before the city wakes up. You will enjoy these locations almost always to yourself, get the best light for taking photos, and seize the day by starting early. That’s a triple win!
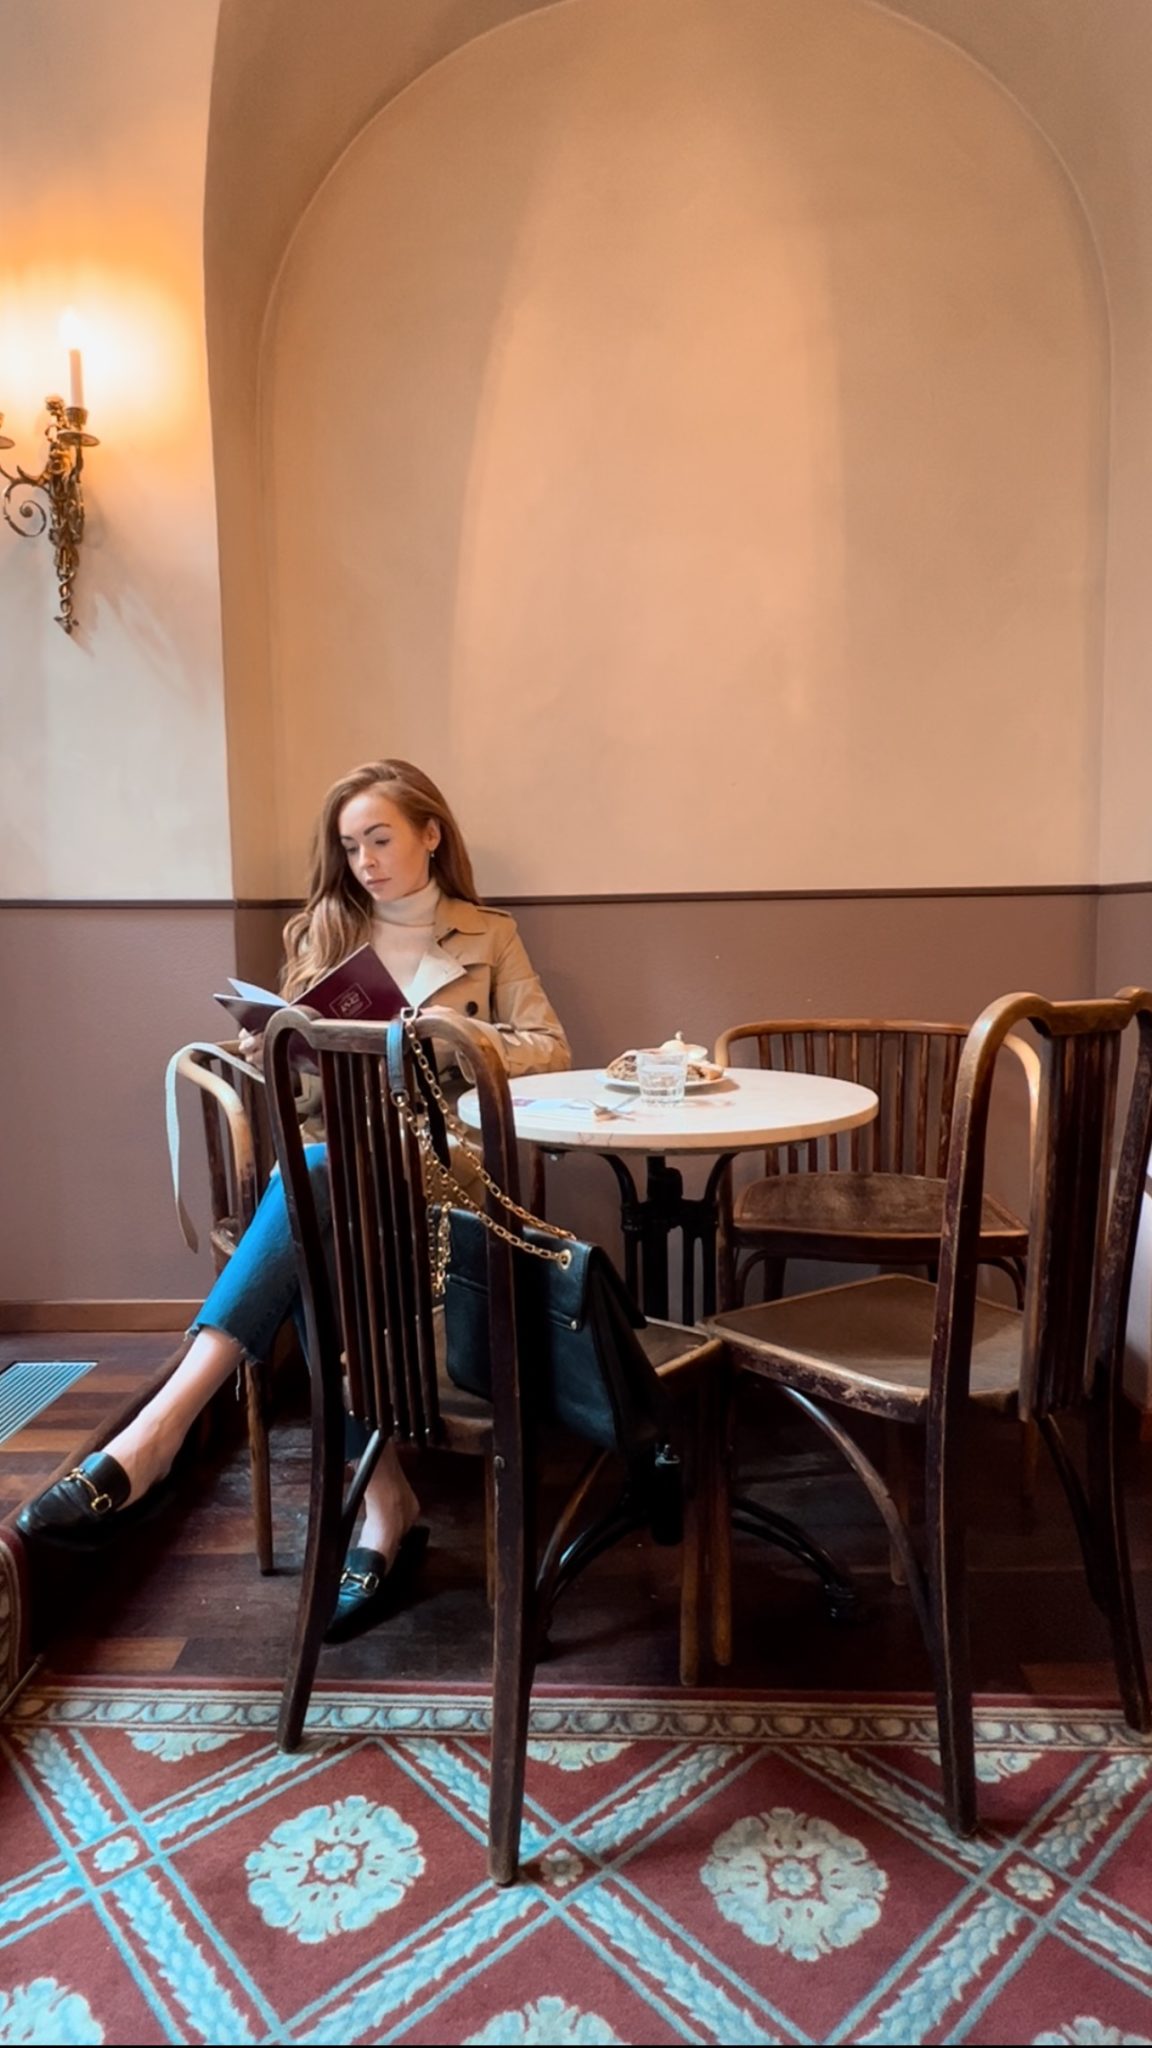
Step four: Use Video instead of Photos
Another great way to get candid looking photos of yourself is to click the video function instead of capturing still photos. That way you can just walk naturally in the frame, pause and screenshot on an image you like. For this I would recommend upgrading to the latest model of iPhone as the camera quality is *chef’s kiss* top notch.

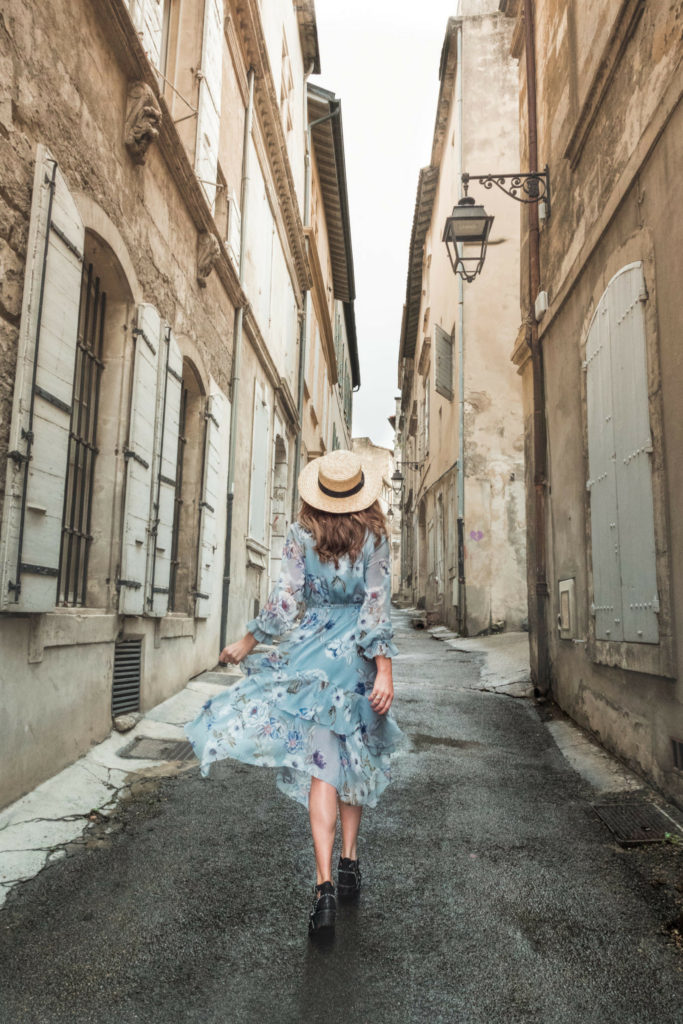
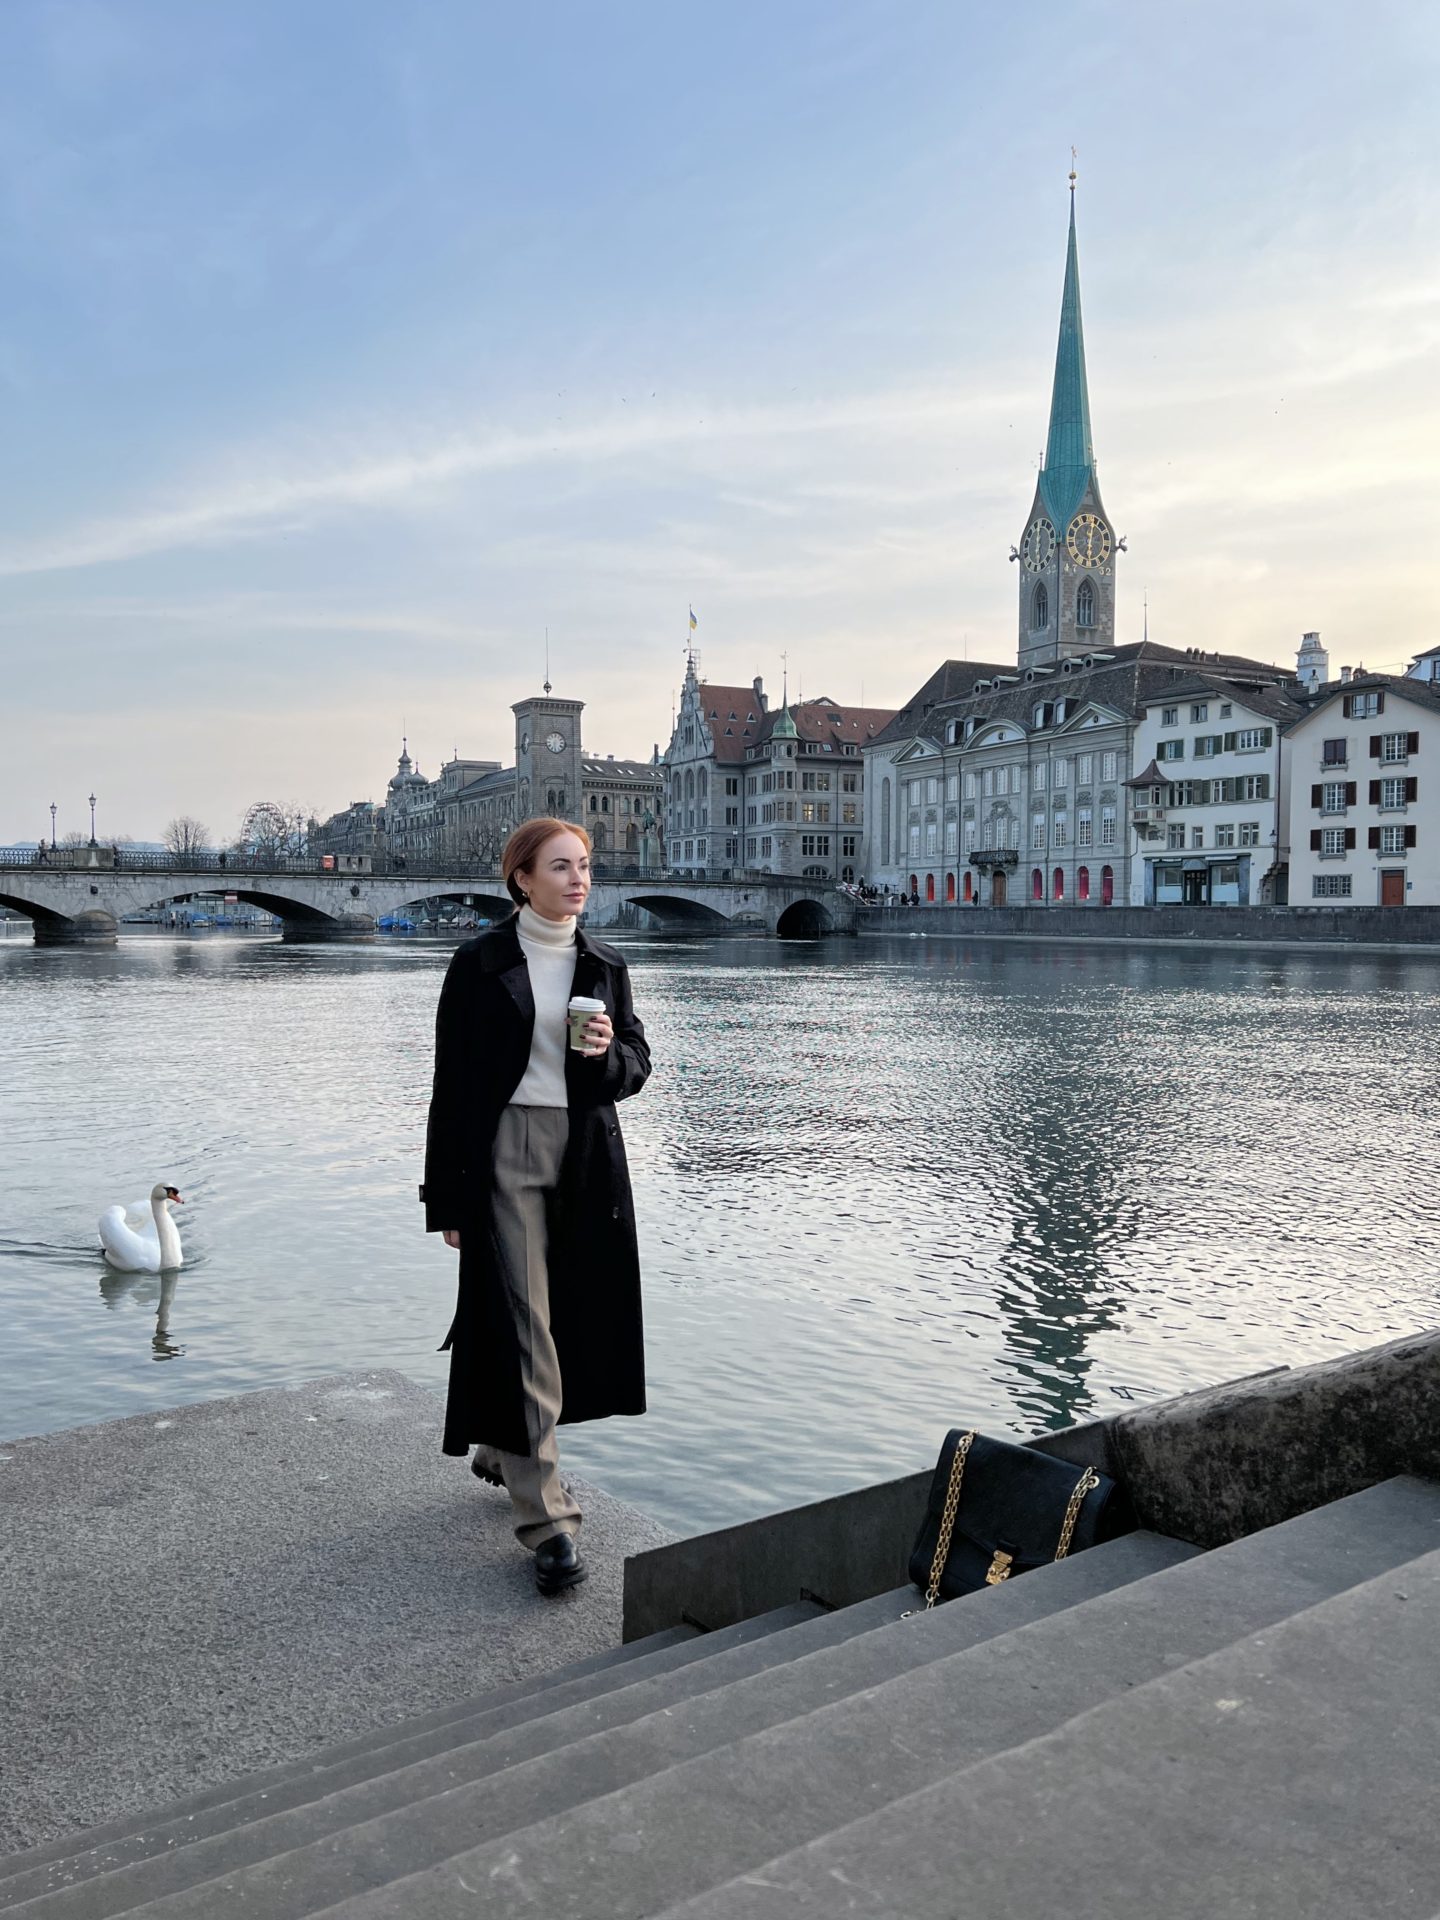
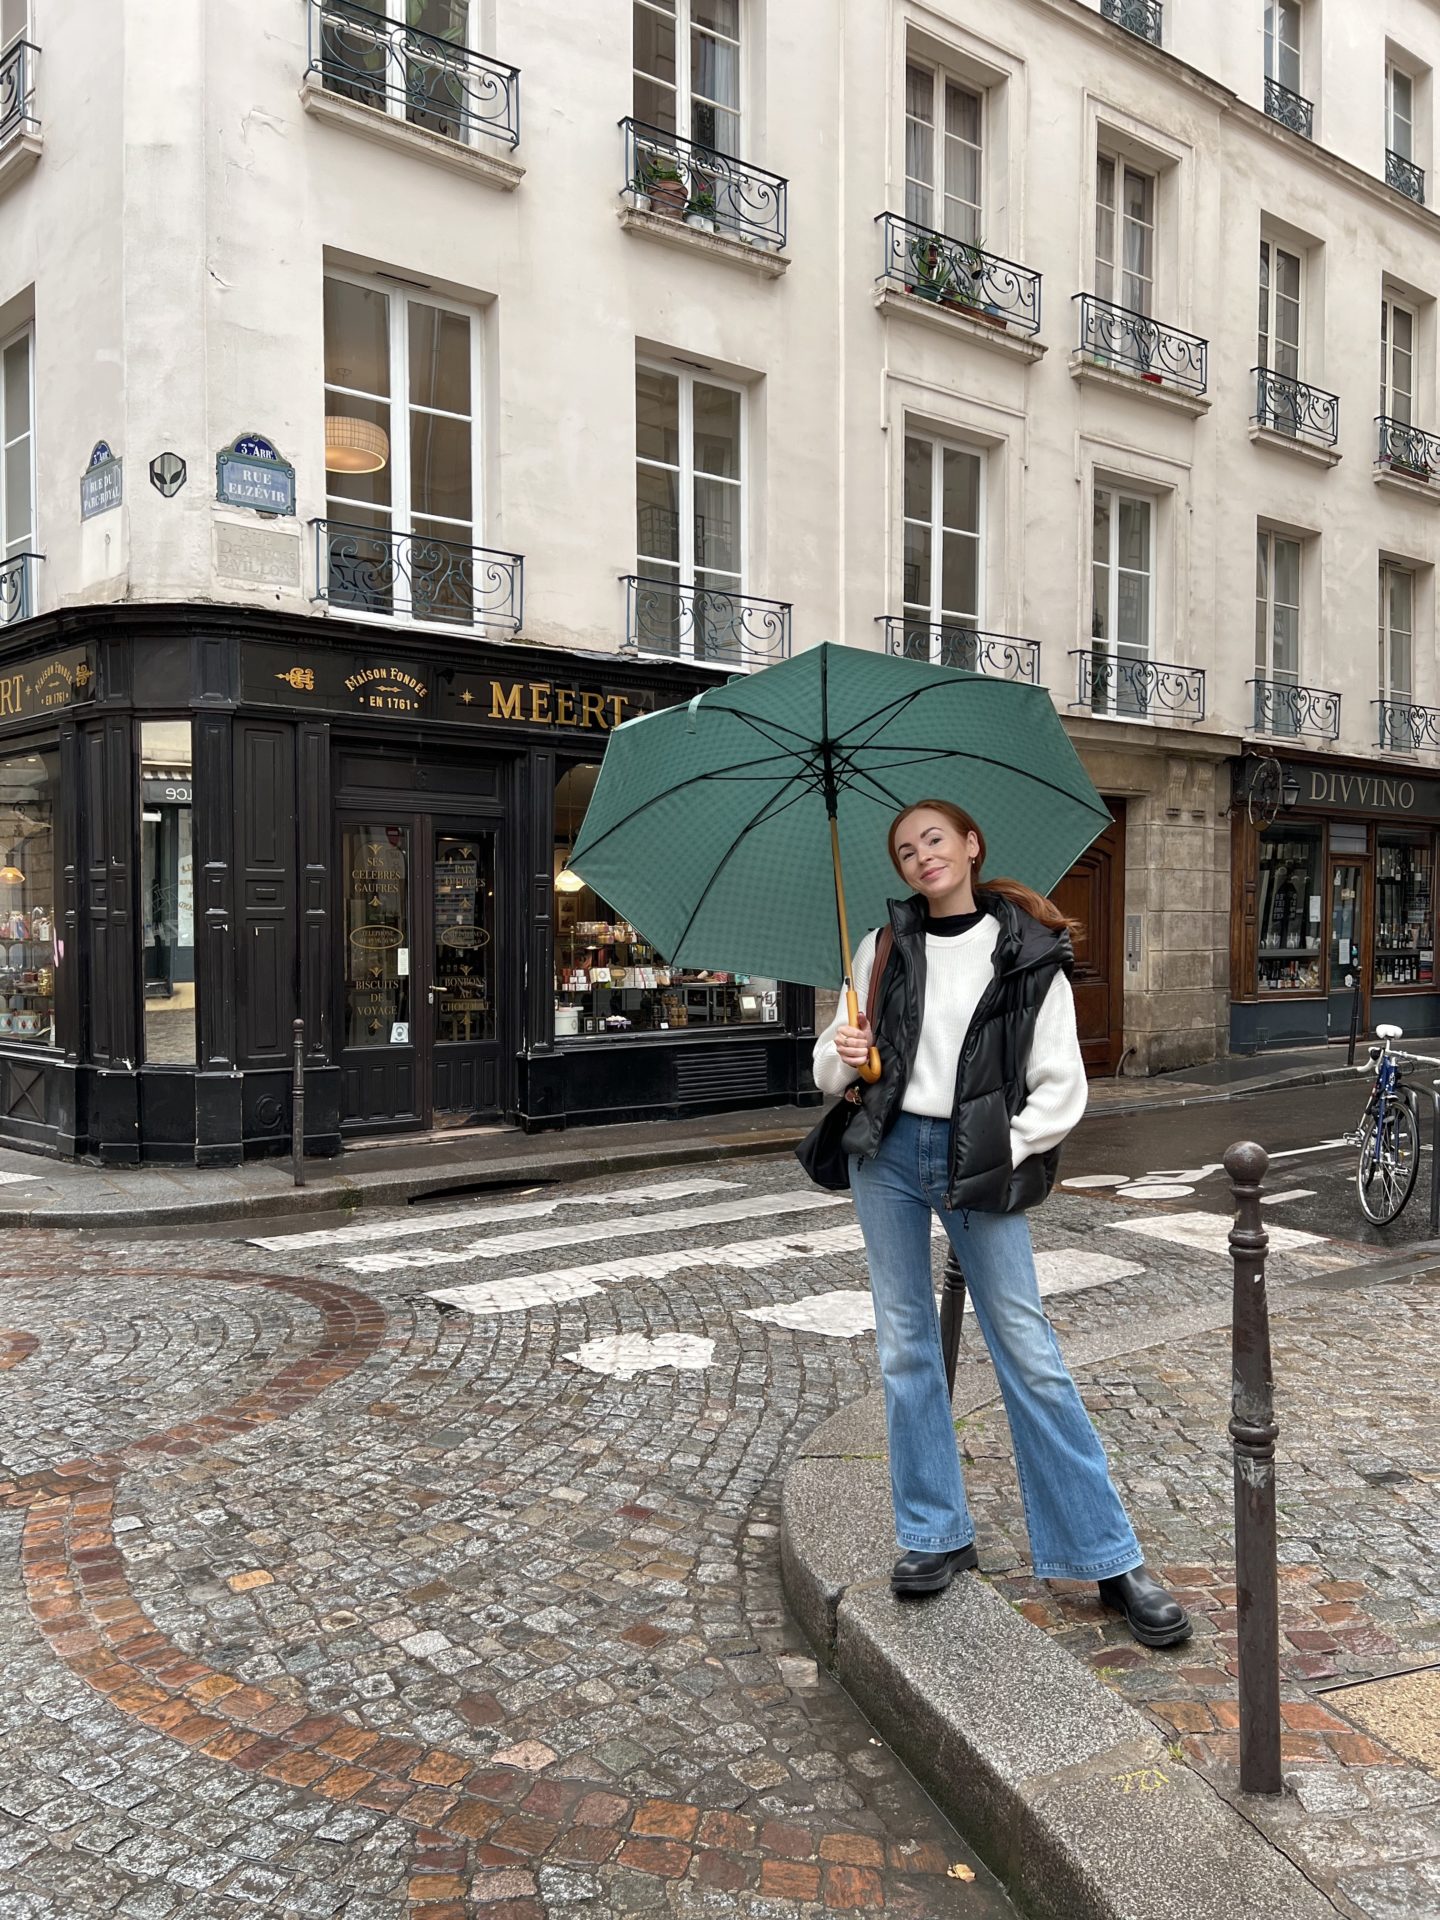
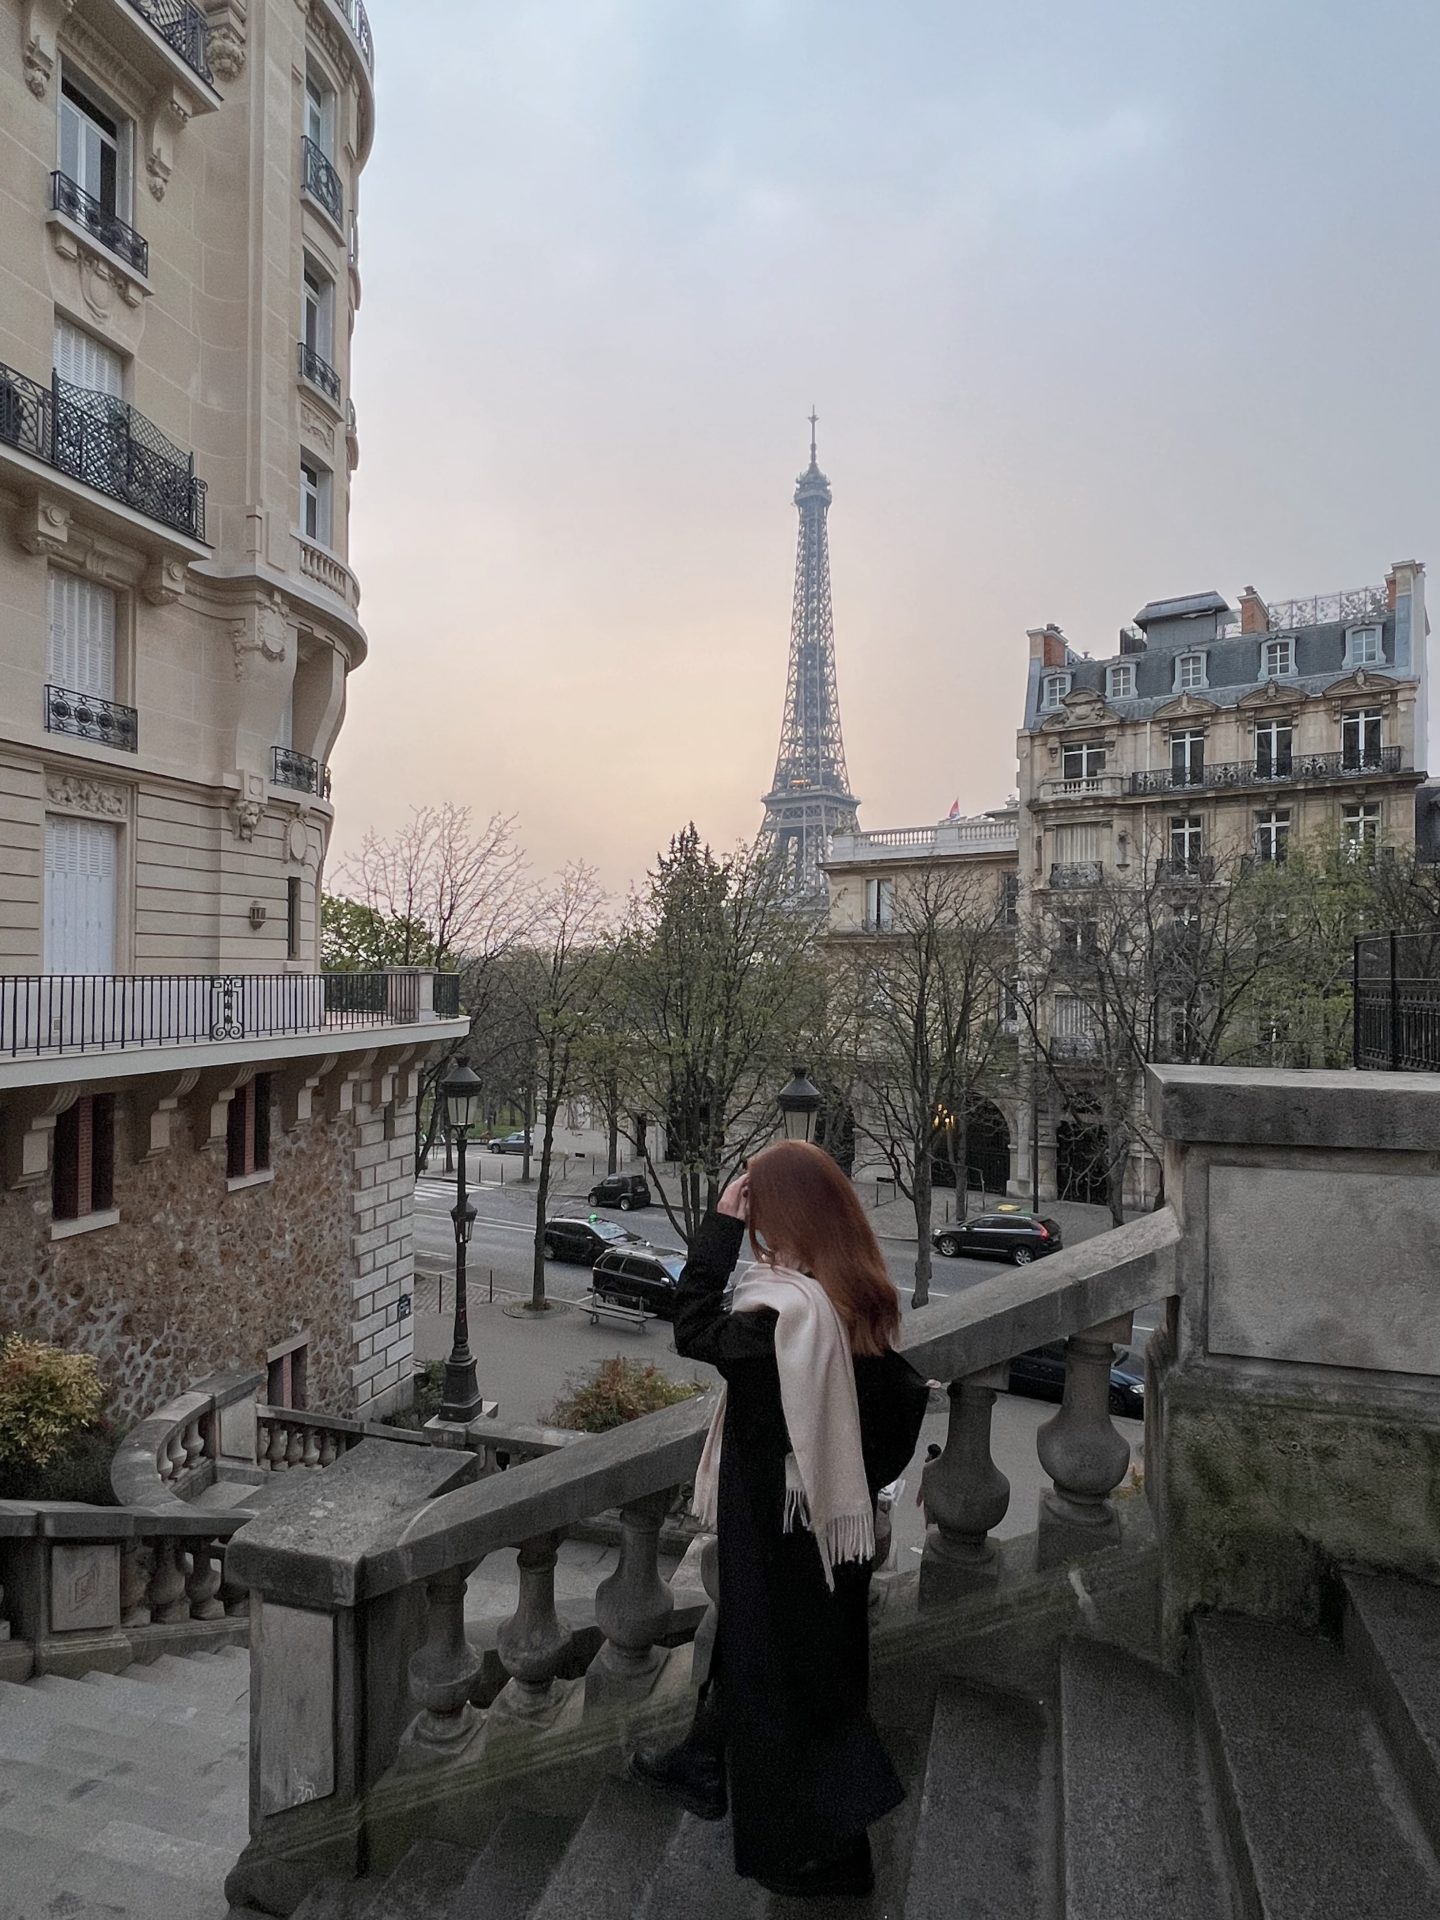
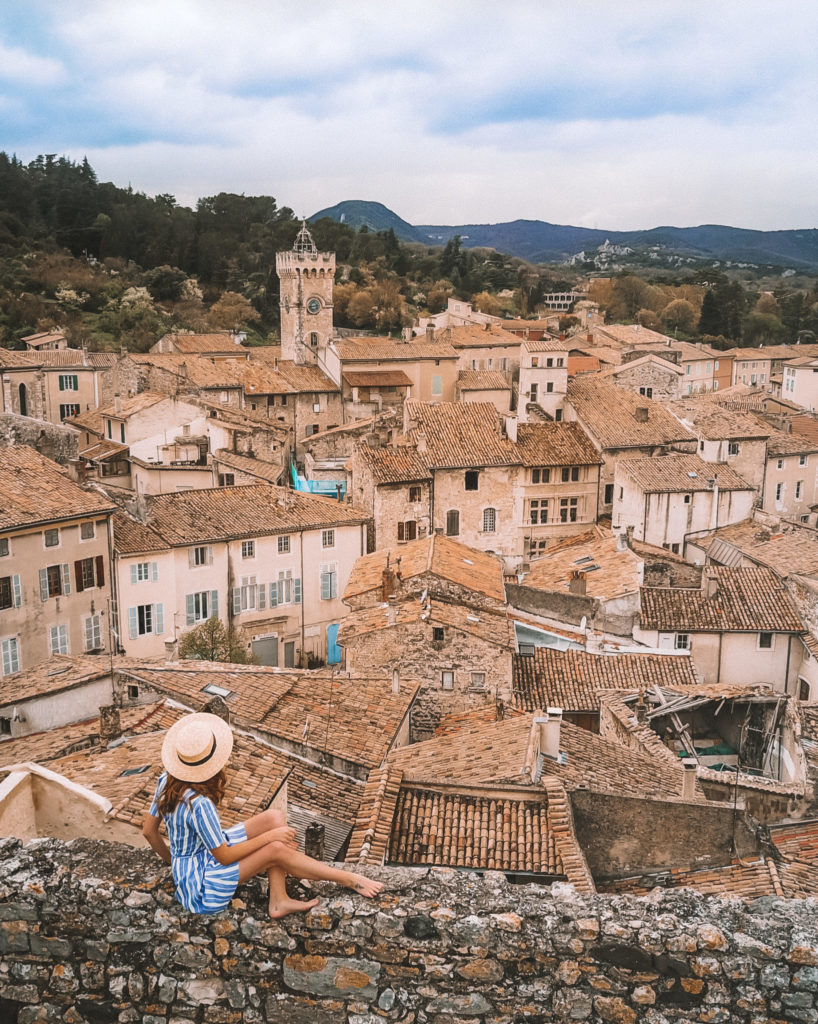
Step five: Walk away from the camera
One of my signature ways to capture a destination is to flip the idea of a “tourist photo” on its head. Instead of facing the frame, I walk away from it. And you might be wondering: yeah, but why?
Walking away from the frame gives the viewer/audience the perception that they are there in the photo with you. It allows them to focus on the destination instead of the person in the photo.
This is a great way to take PRO solo travel photos that can end up being purchased, splashed on magazines (like my feature in ELLE US or my 6-page spread in Cosmopolitan – pinch me!!!)

Step six: Use a Drone
Sometimes the destination I am trying to photograph is better seen from a higher point than where I am physically standing. In these instances, you’ll want to swap the tripod setup for a drone.
As you can see in this photo, my left hand is holding the drone remote taking the photos. I make a point of keeping my right hand free so the pose looks casual and not staged. Et voila!
NEW NOW! SOLO TRAVEL GUIDE

