
On my recent adventure to Northern Canada I was fortunate enough to witness the Northern Lights. Unsurprisingly the Northern Lights in all of their natural beauty have made their way to the top of traveller’s bucket lists, particularly in the age of instagram. One question I have been asked a number of times since my visit revolves around how to photograph the Northern Lights, so if if you’re looking for the answer and photography tips on night photography, you have come to the right place!
How to photograph the Northern Lights
First things First: Having the Right Gear
Capturing the Northern Lights is one of those times a camera phone won’t do, nor will failing to plan in advance! Not only will you need to check for clear skies and aurora activity, but you will also need to have the right gear in order to capture the light show.
At the bare minimum you will need a camera with manual mode and a sturdy tripod (though I did manage to take my photos without one – albeit with difficulty!)
Camera – To capture the Northern Lights I used my Olympus OMD EM5 Mark II or my “big camera” as I more commonly refer to it. This body allows me to shoot in manual mode, an essential component when shooting in the night.
Lens – For my photos I used my Olympus M.ZUIKO 7-14mm f/2.8 PRO Lens. Using a wide-angle lens ensure you get plenty of light activity within your frame, however is not essential when photographing the Northern Lights.
Tripod – As mentioned earlier a tripod is an essential item of gear when photographing the Northern Lights, as it will allow you to maintain a stable frame with a long exposure. Unfortunately for me I left my tripod on the floor of my bedroom ready for packing, so I was forced to make do without it on my trip (which in hindsight didn’t turn out so bad!) If you don’t have a tripod with you just prop your camera up on the ground with a rock or stick nearby – just be sure to check it is sturdy and will not move in the wind.
Batteries – Although not required, I would strongly urge you to invest in 2-3 extra batteries for your camera when photographing the Northern Lights. Due to the cold air up North, your batteries will empty much faster than usual and it is always best to have a backup!
Northern Lights Camera Settings
Now that you’ve checked the likelihood of Aurora activity, checked for clear skies and packed all the necessary gear, its time to learn the basics of shooting in manual mode so that your camera settings allow you to capture the lights at their best. Being anything but a pro myself I’ll keep this section pretty simple to allow for simplicity and the “bare basics” approach to shooting at night.
Shooting in Raw – If you are someone who likes to post-edit photos (most people!) then I would highly recommend shooting in raw format. Especially if you are planning to alter the white balance, shooting in raw gives you much more flexibility when editing photographs.
Aperture – For night photography aperture is as simple as selecting f/2.8.
ISO & Exposure Settings – This is the most important aspect of night photography and will largely depend on your surrounds and lighting circumstances. I would recommend an exposure between 5-25 seconds, depending on how quickly or slowly the lights are moving. After a few photos you will soon adjust to the light movements. Don’t be afraid to experiment a little!
For ISO, i would recommend starting out with an ISO of 400-800 to begin with. If you find your photo is too dark, try increasing the ISO to 1200 and check again. This is another area of experimentation so be sure to bring your patience too!
Don’t forget… practice makes perfect! Don’t be afraid to try and fail. Each time you try again, just fail better!
Framing your Photographs
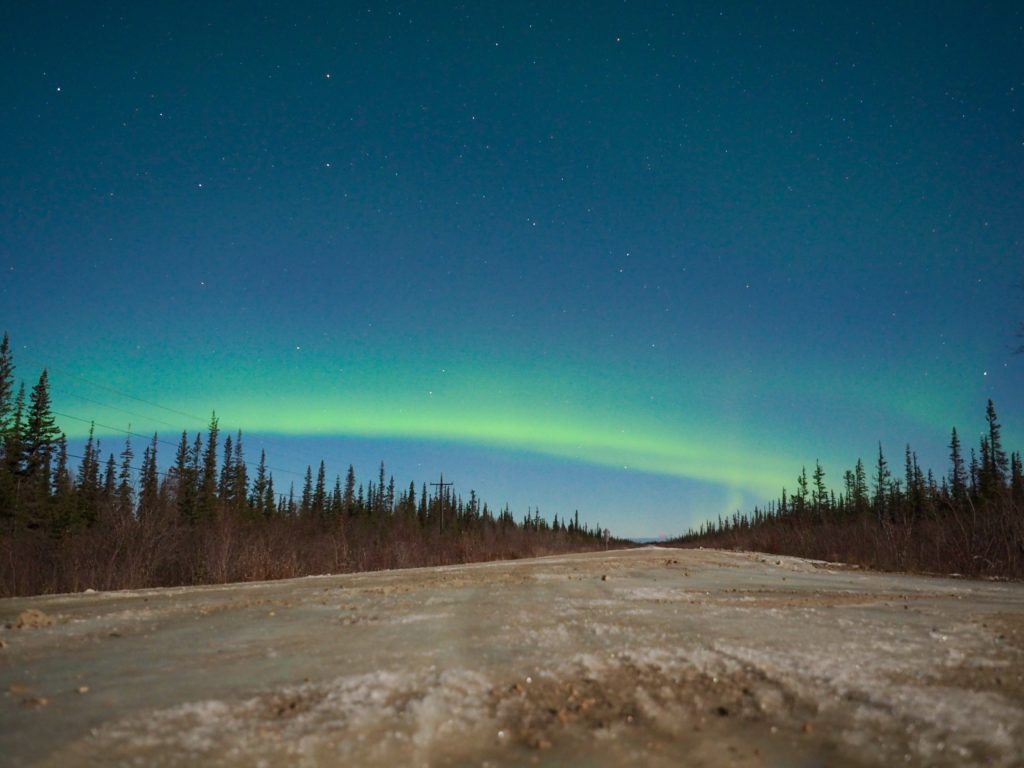
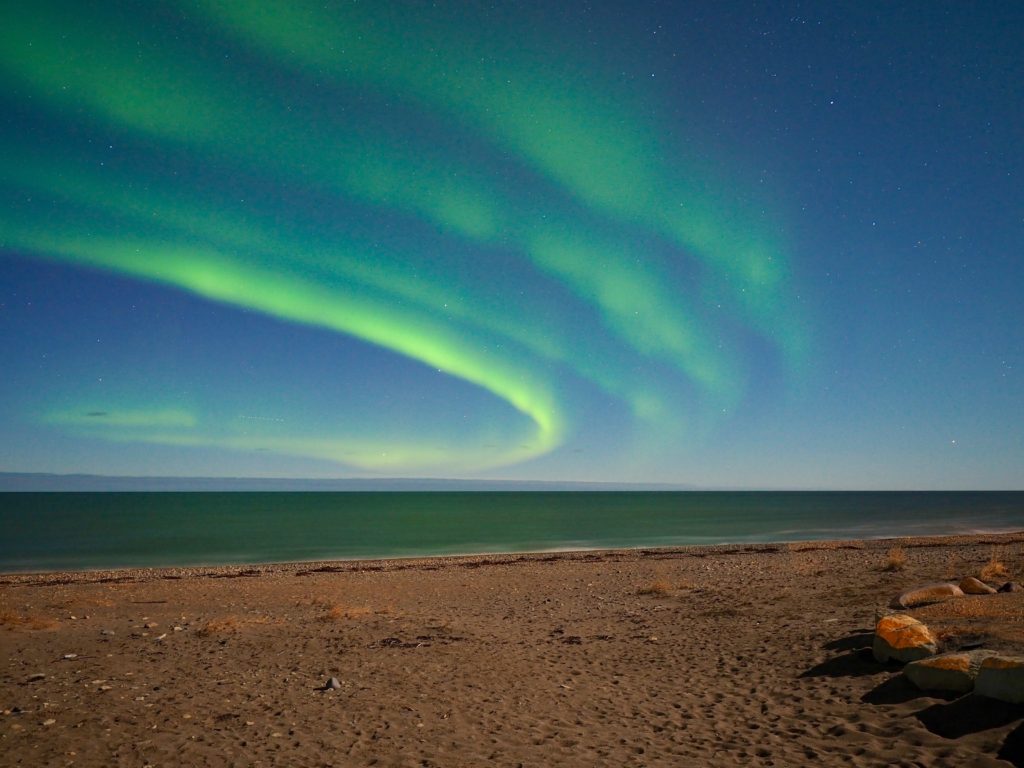
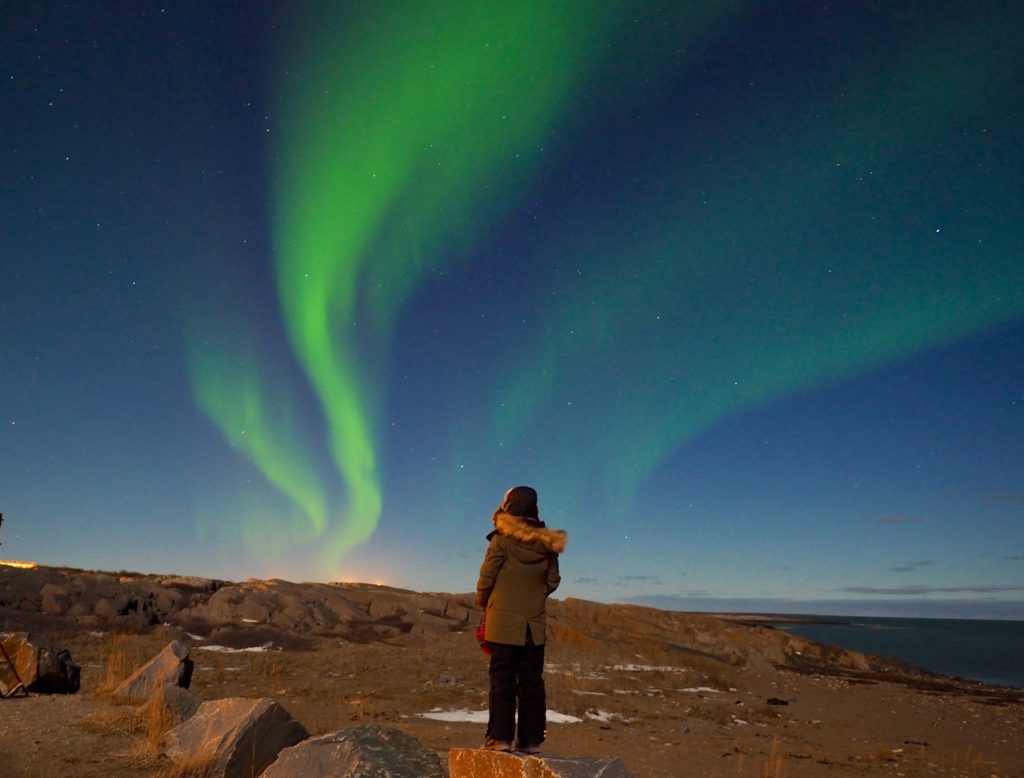
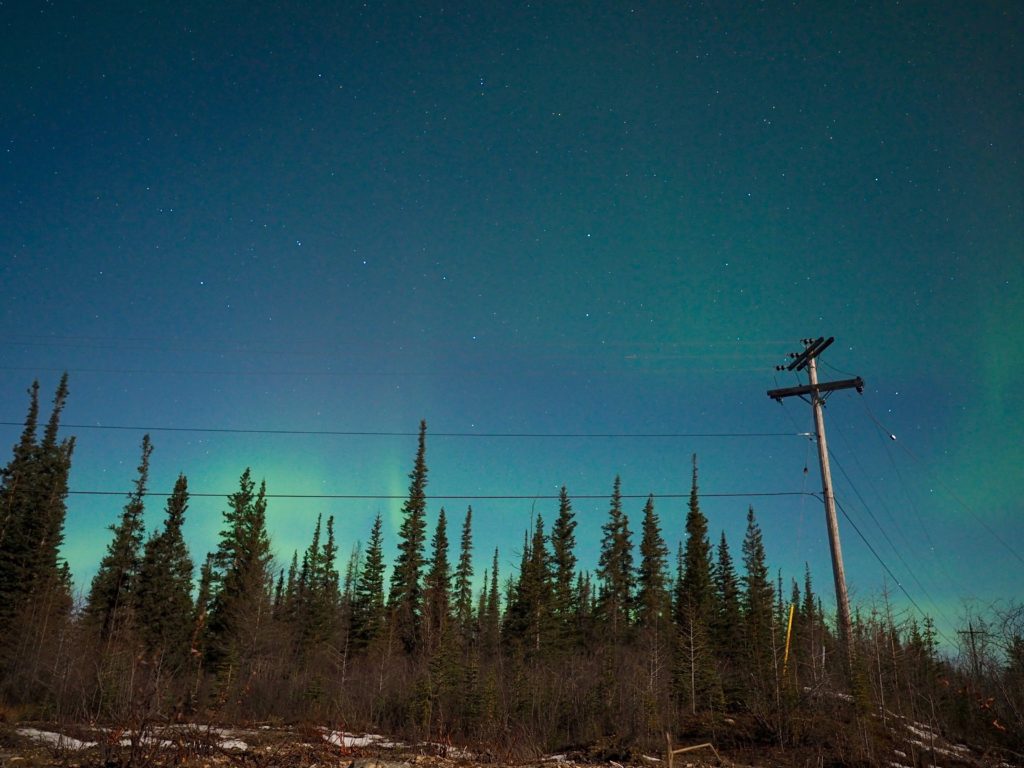
Another consideration for your Northern Lights photos is how to frame them. If you have a friend with you a great way to increase the memory of what you saw is to jump in the photo yourself – you’ll just have to stay incredibly still! Also be sure to consider having items in the foreground of your photos to show size and scope.
Unfortunately for me I was in an area filled with polar bears (though not really unfortunate at all!) This meant that we only had 10 minutes to exit the vehicle and take photos so as to reduce any risk of a bear encounter. Just five minutes after we left a bear was spotted approaching photographers and “chased out of town”… only in the North!
In Conclusion…
Although I only got the chance to photograph the Northern Lights for all of ten minutes on my first night in the true North, I was pretty happy with the outcome of images! If you are lucky enough to see the Northern Lights for longer than I did or more than one night, I would highly recommend checking each night as the aurora activity changes a lot, as do the colours of lights!
The most important things to note are to come prepared (with extra batteries) and to adjust your settings until you have just the right balance. Finally, of course, practice makes perfect!
This blog post contains sponsored content and links – all opinions remain my own.

Brooke Saward founded World of Wanderlust as a place to share inspiration from her travels and to inspire others to see our world. She now divides her time between adventures abroad and adventures in the kitchen, with a particular weakness for French pastries.